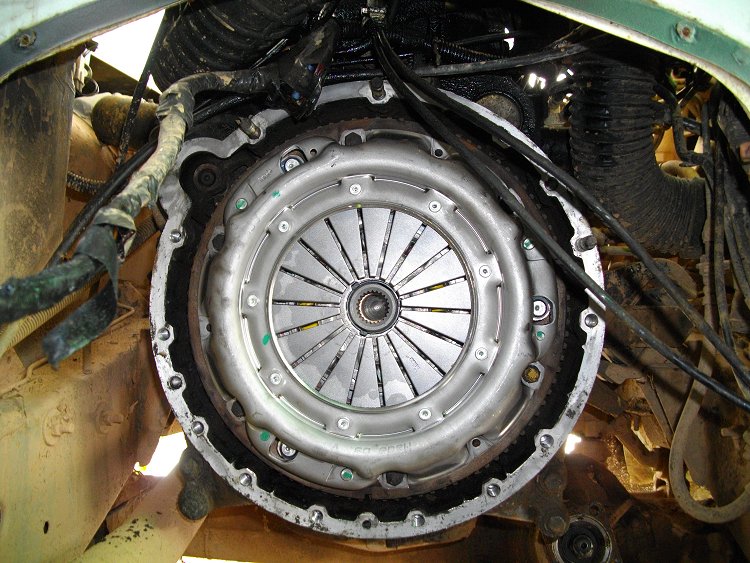
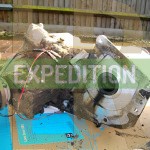
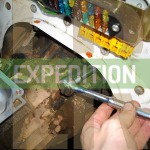
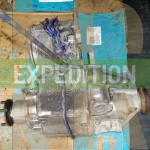
Replacing the gearbox, clutch and transfer box
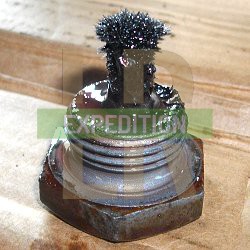
I knew it was coming. I just knew it. The clutch was squealing when the pedal was depressed and the bite point started changing with every press. I also knew that my gearbox might not be in the best shape since the piece of metal fell out of it a year ago.
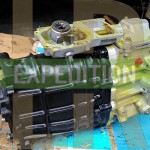
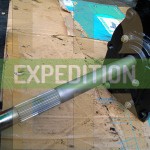
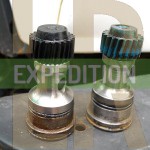
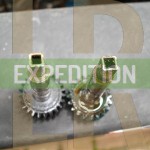
The decision point was whether to replace the gearbox at the same time as the clutch. I had previously bought a Discovery 1.2 ratio transfer box to put in at some point, which could also piggy back on this occasion. I didn't want to let a garage have all the fun, so with a bank holiday weekend approaching I gathered all the bits together for a monumental mechanic-a-thon.
Getting a new gearbox, clutch and/or transfer box is certainly a consideration if you're planning on an extended expedition in a vehicle with a lot of miles, as all 300Tdis typically have these days. Mine hit 150,000 miles the week before this all happened.
How it went
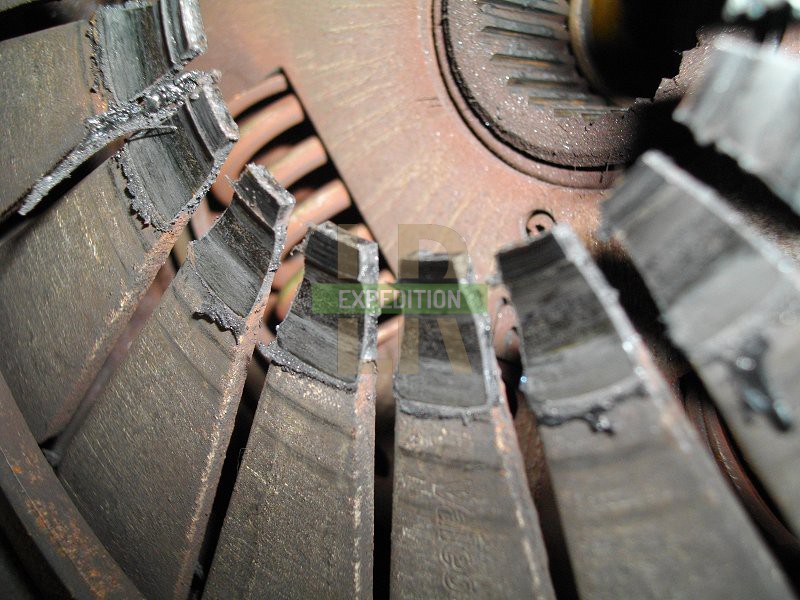
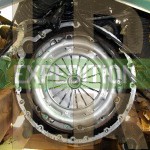
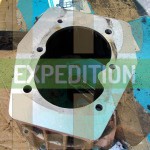
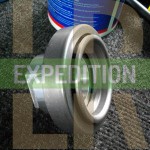
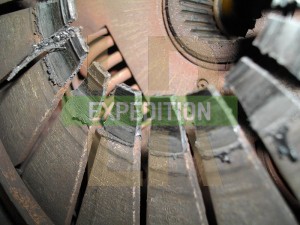 It took me 32 hours over 3 days by myself. It was a great experience and it's probably one of the hardest things i've ever done. Physically it's knackering - you ache all over after only a day. Mentally, you've got to stick at it for 3 solid days and overcome every problem that presents itself. The feeling of relief and accomplishment at the end is fantastic. The failure point turned out to be that the release bearing had melted and the clutch pressure plate fingers were very worn, causing the erratic operation.
The hardest parts were getting the gearbox angled correctly, raising and lowering it to maneuvre through the chassis and getting the bellhousing back onto the engine - the angle is critical.
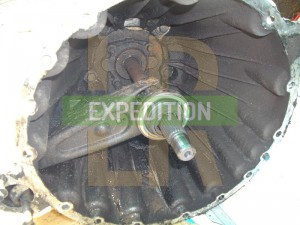 And afterwards: the clutch pedal feels like that on a normal car. It's so soft I can press it with my hand! Also a huge amount of slack has disappeared from the drivetrain, which is very noticeable when you lift off the throttle in second gear.
What I did
I'm not going to write about each step as there's lots of resources already around. A Haynes manual and the Land Rover Workshop manual are pretty good, and the following online write ups give a good feel for what's involved:
Gearbox: Here and here. Transfer box: Here, here and here. Clutch: Here, here and here
I can recommend doing a bit of research to make sure that you:
- Want to do it yourself
- Can do it yourself
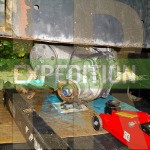
My method involved using an engine crane through the drivers door to suspend the gearbox and transfer box which I then removed, moved back and lowered individually. I didn't want to take the gearbox crossmember out as I didn't have any way of jacking apart the chassis and it's also usually a rust trap waiting to collapse.
You'll need everything with you once you start as you don't want any hold ups, so I spent a week collecting parts. You should also be prepared to spend more on better quality parts; you don't want to be having to take it all apart to fix something small any time soon! The parts I replaced were:
- HD clutch fork kit (fork, slipper pads, push rod clip, spigot bearing) - £15 - Island4x4
- Aluminium release bearing - FTC5200
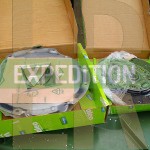
- Valeo 130 HD Clutch kit - UQB000130 and URB100760
- R380 Suffix L gearbox - Ashcroft Transmissions
- Propshaft bolts - 509045P
- Gaskets, grease, seals
- Difflock Evolution 1 Gear oil
- Engine crane hire
- Clutch alignment tool (eBay link)
- Second hand 1.2 rato Disco 1 - LT230Q
LR Expedition may receive compensation for purchases made using the eBay links.
It all came to about £1200 - not cheap, but a good investment for an ageing vehicle that may one day drive round the world! In reality the parts for the clutch came in under £200 so only doing the clutch would be quite cost effective and doable in a day. A garage would charge in the region of 8-12 hours labour for a clutch change alone, so I could have paid £1000 just for the clutch!
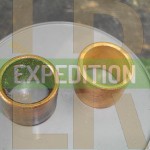
The parts that I consciously spent more on were the Aluminium release bearing (it won't melt like this one had), the Difflock oil (it's had good write ups and I wanted to give the new gearbox the best shot possible) and the gearbox (I paid an extra £100 to get a Suffix L in return for my Suffix J box. The Suffix L's are a stronger design).
Tips
This is what I would do differently or found worked well with the engine crane method:
- Wrap your fingernail beds with zinc oxide tape but leave your finger tips showing. They get bashed from all angles and bleed.
- The bellhousing weighs nothing. Balance the gearbox as if it wasn't attached.
- Use two straps to shimmy the gearbox back, rest on the cross member and then remove the rearward strap to reposition through the transmission tunnel opening. Repeat for the front strap
- Remove the transmission tunnel "skirt" on the bulkhead to allow the bellhousing to move backwards
- Remove the driver's floor
- Remove the steering wheel and take both propshafts off completely for maximum space
- Keep the straps as short as possible so the crane is as low as possible. It'll start lifting the vehicle under the door frame if it goes too high.
- Put a cable tie around the push rod clip so that it won't become detached in any future slave cylinder removal (a popular forum mod)
- Undo the transfer box flange nuts whilst it's still on the vehicle, the handbrake is on and it's in difflock. You need this locking force to be able to undo the nut so that you can do any flange related work on the bench
- Pull the handbrake cable out of the lever to remove the backplate and cable as one
- Don't lose any bits!
- I didn't have to remove the exhaust and the engine didn't tip forwards as some write ups say will happen
- Put up a gazebo or shelter over the vehicle if you don't have any indoor space. It'll allow you to work on through the UK weather
- Get someone to make you tea through the day!
- Use an old credit card to scrape off old gasket sealant
- The gearbox is about 65kg and the transfer box 40-50kg. Safety first!
- Sand down the slave cylinder push rod if it's not smooth to prevent the dust cap sticking to it as mine did
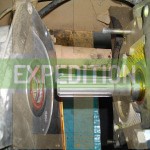
- If replacing the transfer box, make sure you use the speedo drive gear of the old box. The speedo drive relates to the diff ratios and tyre size - nothing else - as it's driven from the output shaft.
Please do take the time to understand what's involved. I'm a certain kind of sadist that wanted the challenge, but if presented with it again I might think differently! In any case the satisfaction of doing major mechanical work yourself will stand you in good stead for understanding potential problems on expedition and will get you in the right expedition frame of mind of self reliance.
Photos
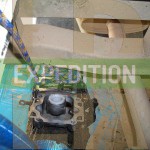
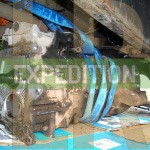
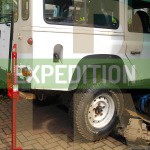
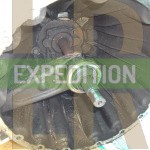
Enjoy a selection of photos of the weekend in action!
5 year update
The box now has 20000 miles on it and is going well. It's been a bit sticky in 2nd gear sometimes, but they all do that. I've not found the best conditions for the best gear shift. Sometimes it's best when cold and other times it's bad. Sometimes it's best when hot and other times it's a bit "snaggy" when changing gear.
There is also sometimes a judder on the clutch when pulling away, which makes me think I should have had the flywheel refaced as it had some bluing and the new 130 clutch disc is a larger diameter so will be running on a part of the face that previously had no friction.
I didn't really rate the Difflock oil, so changed it to MTF94 after a few thousand miles and it made things a little better.
Within a year a leak formed at the mating face of the gearbox and transfer box. I believe it to be MTF rather than ATF, so the rear of the gearbox is probably leaking. It doesn't loose much oil so i'm living with it.
