Bypass the Dim/Dip relay
Having a dim-dip system in your car was a regulation that came about in the 80s in the UK, but is no longer necessary. The feature was fitted right into the Puma era. On UK Defenders, the two settings of the headlight switch will dim the headlights on the first setting (by routing power through a resistor under the RH front wing) and allow full power on the second.
I have fitted uprated wiring with relays to stop the full headlight load passing through the headlight switch and burning out. This reduces the voltage drop (therefore brighter headlights) and completely bypasses the dimming function of the dim-dip system. So my headlight switch gives the same result (sidelights + dipped headlights) on both settings.
Defenders without this feature (such as ROW spec) would switch sidelights on the first setting then include dipped headlights on the second. I decided I would prefer to have it that way. It is quite common in the UK to have a gloomy day, where you don't need headlights but would like some gauge and exterior illumination. Having the headlights on when you don't need them will decrease their life and increase the load on the alternator/engine unnecessarily.
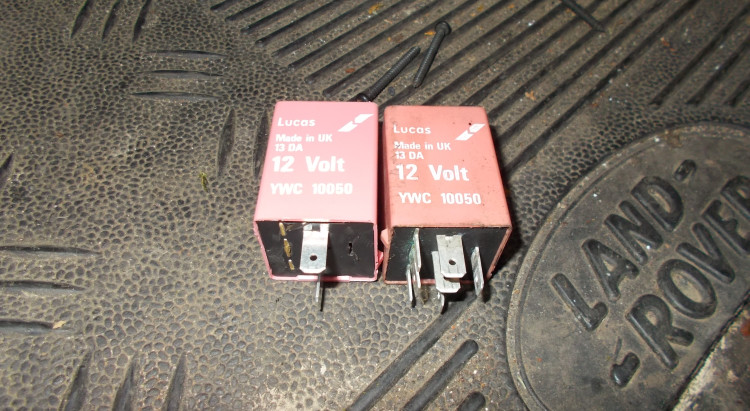
The solution is simply to permanently bridge the circuit in the 'dipped' setting. Many people have simply jammed wires into the empty socket to do this, but I wanted something more 'plug and play' like the factory solution. You can buy the genuine dim-dip bypass relay YWZ10003L, but it's not that cheap for a simple solution. I chose to create my own version by adapting a true dim-dip relay YWC10050L. I bought an extra second-hand relay to adapt so that I always had the original to fall back on.
What to do
The dim-dip relay case can be removed to reveal the circuit board and magnetic coil inside.


Cut off the magnetic coil and switches. With the circuit board on the left, cut the 3 blade connectors to the left and the single one on the opposite side. There should be 3 remaining.


Wiggle the free floating connection free to gain better access to the central blade connector. We can then cut it from the top to remove it.


The connector has a barb, so lever the plastic a bit to allow it to pop out. There should just be 2 blade connectors remaining.


Now we need to connect the two remaining blade connectors, which were previously connected when the relay operated. You could solder a wire directly between the two connectors, but I chose to use the circuit board to ensure a better solder joint. Thankfully, the relay connections can be wiggled free which leaves a hole in the solder, through which we can add a wire. The wire doesn't carry the headlamp load so doesn't need to be highly rated.


If the wire is the correct length, and the solder joints aren't too fat, then the plastic body will fit over the top. You now have a plug and play DIY dim-dip relay bypass unit, AKA YWZ10003L.


The relay on Td5 and earlier vehicles is located on the bulkhead below the instruments. If you have front speakers then you can easily get to it behind the driver's speaker. Otherwise you will have to remove the instrument binnacle and reach down. On Puma/Tdci vehicles the relay is located on the fuse board on the dash.

