Quick fix: Transmission clunk
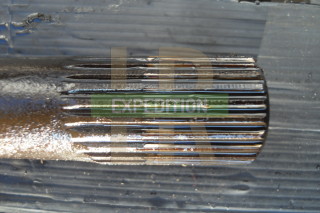
When you find yourself not being able to change gear without a clunk then you may have worn splines on your halfshafts and drive members, due to high mileage or heavy clutch changes. The halfshaft transmits power from the differential by engaging the splines of the drive member which bolts to the hub. Over the years the splines will wear down and a gap will appear, causing the clunk as the wheels catch up to the transmission on gear changes. This makes it a good aspect to check before an expedition and a quick win in preparation where high mileage and high stress driving are likely to occur. Both bits can be changed easily (20 mins) with simple tools and relatively cheaply.
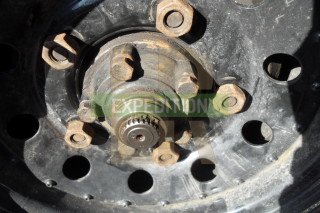 Whilst having the clunk won't stop you being able to drive your Land Rover, the time that the splines take to "catch up" have allow them to gain more force and cause a jolt through the whole transmission. This could start wearing your other, more valuable components such as Transfer box and gearbox.
The way to check if this is causing your clunk is to jack up one rear wheel, take the rubber dust cap off and rock the wheel back and forth. If you watch the splines, there should be no play between the halfshaft and the drive member. Mine had old, dirty grease between the splines, which would ooze out as I moved the wheel, so I thought it time for some new halfshafts!
Things you'll need
For 200Tdi Defender 110:
- LH rear halfshaft (long) - FRC2455 - £22.49
- RH rear halfshaft (short) - FRC2454 - £22.49
- 2 x drive member - FRC5806 - £8.49 each
- 2 drive member gasket - FRC3988 - £0.28 each
- 10 x drive member bolts - BX11095M - £0.28 each (optional)
Tools:
- External circlip pliers
- RTV sealant
- Loctite
- Grease
- a Torque wrench
- a 17mm socket
- a hammer and an old screwdriver/chisel
What to do
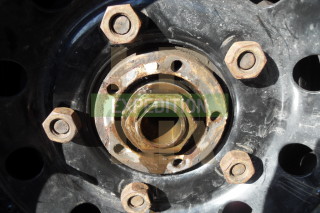
With the wheel on the ground, break the 5 x 17mm drive member bolts and then jack up and support the wheel. Undo the bolts all the way and hit the drive member with a hammer to rotate it and it will eventually pop away from the hub. If not then use an old screwdriver or chisel to prise it away. Some axle oil may escape.
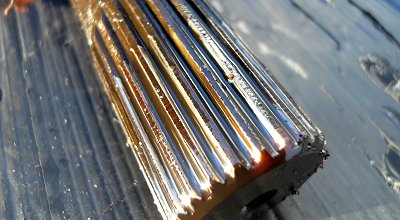
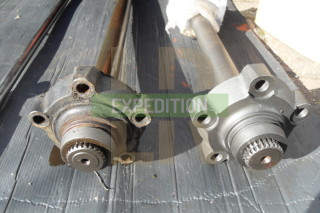
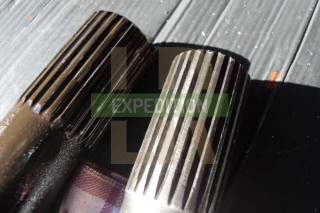
Pull the drive member along with the whole halfshaft out of the axle. You will now see the internals of the hub. Grease the new drive member splines and slide it onto the new halfshaft. Remove the circlip from the outside of the old half shaft and put it on the new one. You can see below the part of the old halfshaft which has worn away from its contact with the drive member.
Remove the traces of gasket from the hub face and then place a new gasket on the face held with a little grease. Slide in the newly assembled halfshaft and drive member. Push down at the drive member end to lever the end of the halfshaft up to engage the differential. It may need a little rotation.
Clean the bolts and put two through the drive member and align it with the holes by turning the wheel and screw in a few turns. Push the drive member flush with the hub - it may require a tap with the hammer. Put Loctite on the 3 bolts and hand tighten them, then do the same for the previous 2 bolts.
Lower the wheel back to the ground and tighten the drive member bolts to 65Nm by diagonal selection as you would with wheel nuts. Add grease around the circlip (you can never have too much grease) and replace the dust cap and do the other side!
This should help reduce the clunking in your gear changes. If it doesn't then you may have splines worn in other parts of the transfer box, gearbox and differentials, or your lower link bushes are worn.

