Replacing a 300Tdi Salisbury axle with a Td5/Puma 110 rear axle
The Salisbury axle on a Defender 110 was used through the Series era until 2002. It has a reputation of being very strong, but also not very DIY friendly, as the pinion is part of the axle casing and the diff carrier removed by needing to spread the axle casing apart. So to replace the differential you would effectively need an entire new axle.
The axle on my Defender 110 always made a thronging noise around 65mph or higher. After a period of off roading for a few months, I found out that one of the UJs on the rear propshaft was seized. Upion replacing it, a horrendous sound became evident when changing between throttle and overrun that sounded like a bag of nails being dropped into a blender - not very nice. The pinion seal had started leaking so it pointed to the fact that the seized universal joint would have probably put some nasty forces through the pinion.
I have had visions in the future of fitting a diff lock of some description to the rear axle; the Salisbury being more difficult to work on would make this a pain. So with the differential having incurred potential damage, and my future aspirations, I decided to replace the axle with one from a Td5/Puma Defender 110.
Weighing it up
Some consideration is required for the pros and cons related to such a swap, because this is not necessarily an "upgrade" for every Defender.
| Pros | Cons | |
|---|---|---|
| Td5/Puma axle |
|
|
| Salisbury axle |
|
|
The Td5/Puma rear axle has been known to have problems and break even though it is a 4-pin diff like the Salisbury. The concern appears to be the shortness of the pinion shaft which allows it to more easily flex away from the crown wheel.
In terms of cost, they are both relatively expensive due to the fact that Td5/Puma axles are newer, and the disc braked Salisbury axles are an upgrade for older drum braked Salisbury axles.
For me, I liked the ability to remove the differential. It would mean that if it did break, it could be removed and taken somewhere independent of the vehicle to be fixed. It would also allow me to send it away to add in a diff locker and replace it myself. This for me is an important feature when driving in unusual places in across the globe.
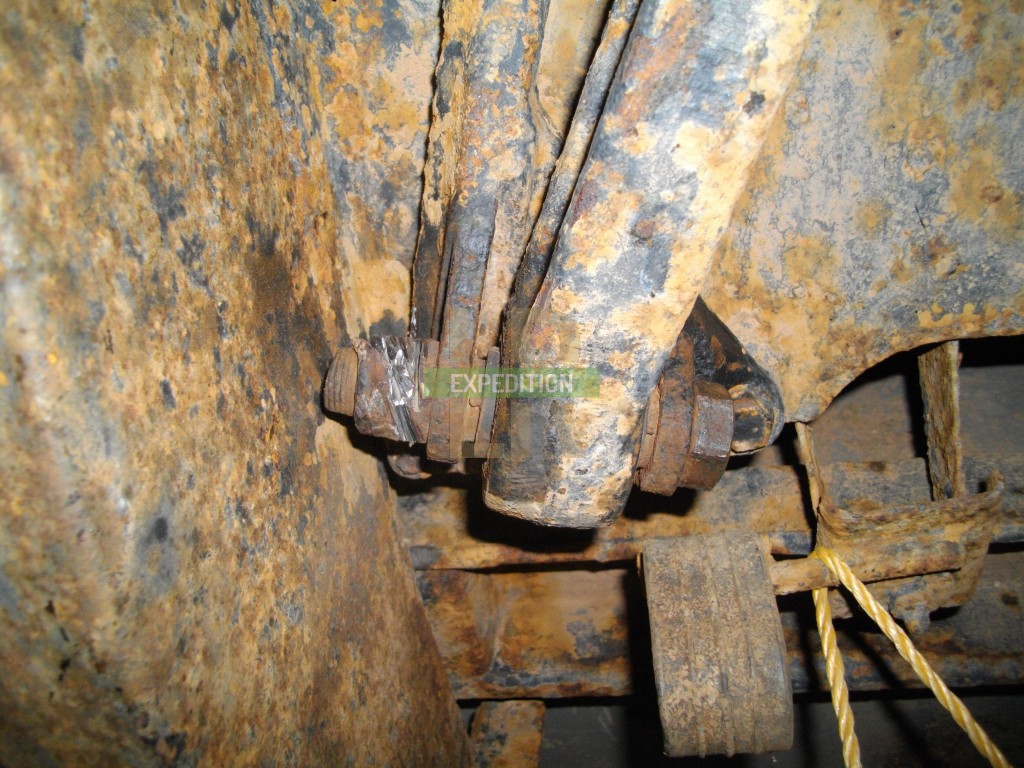
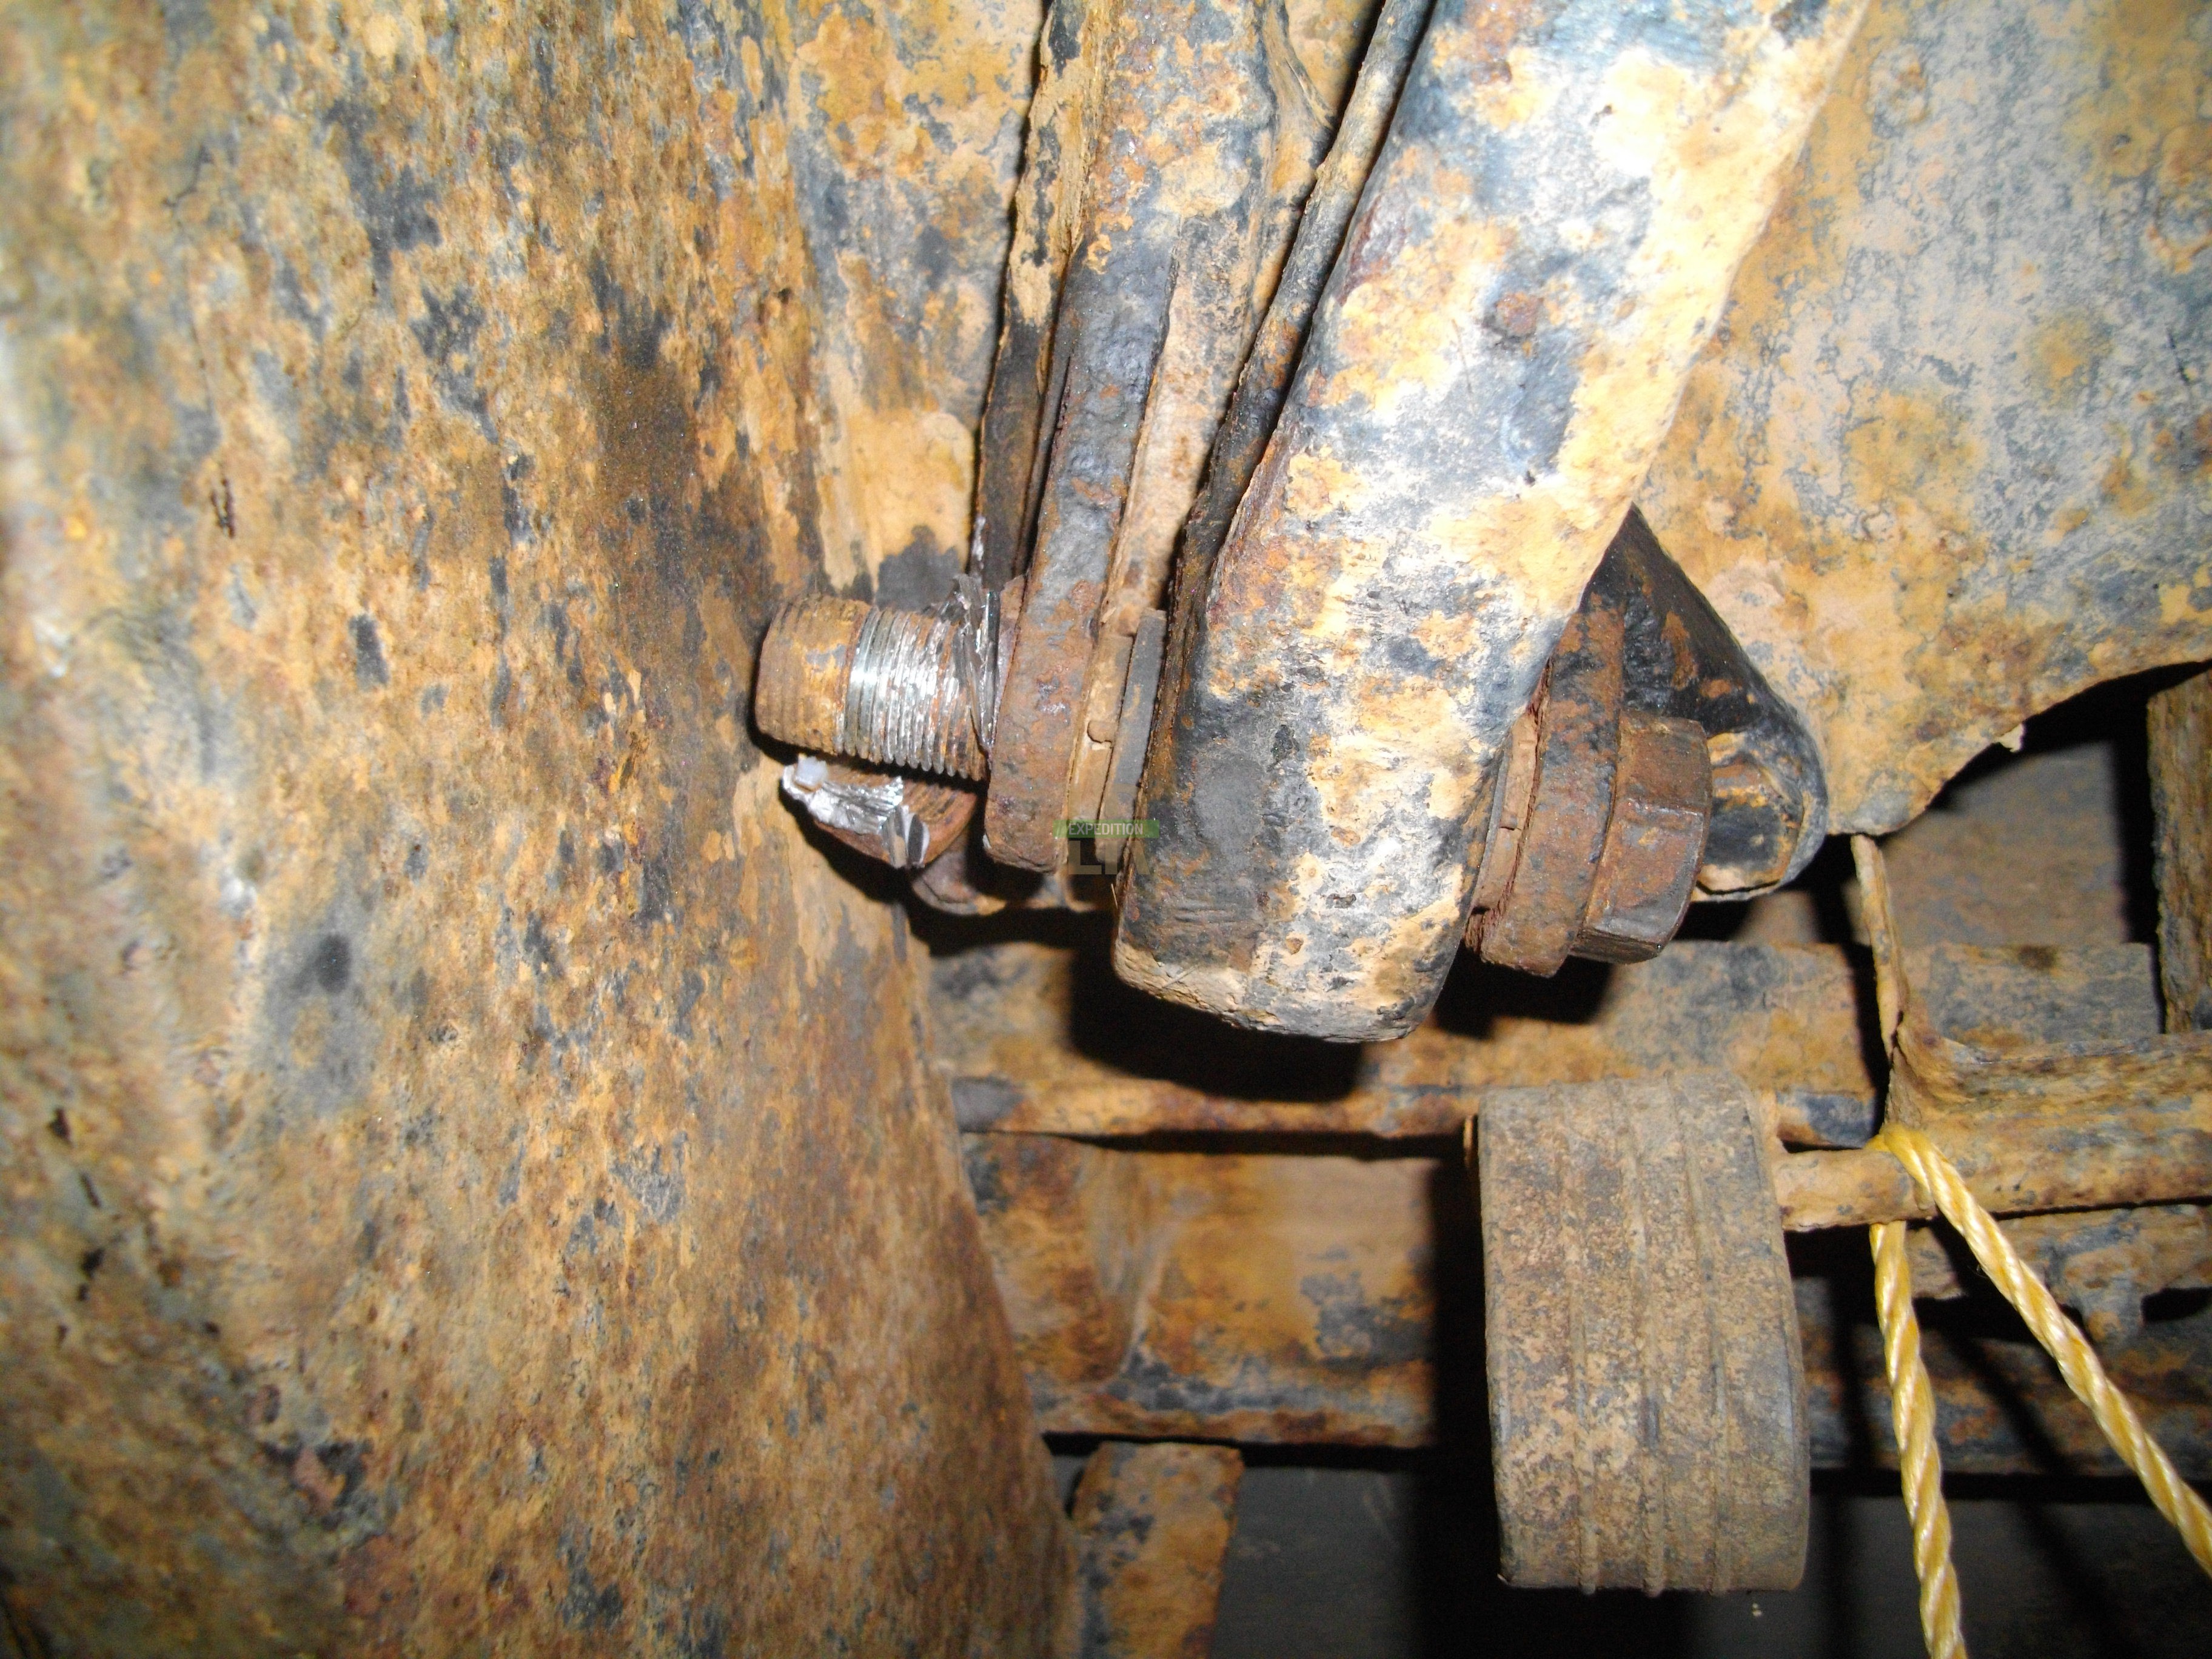
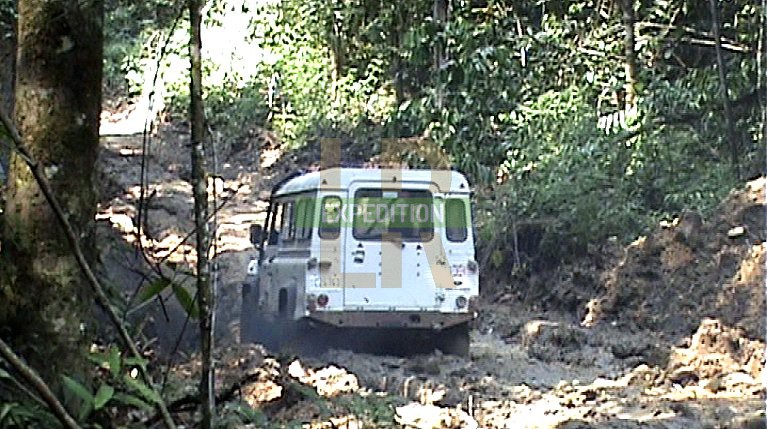 The Salisbury is also an inch or two lower than the newer axle, and is actually the lowest part of your Land Rover to the ground. This didn't help in Belize when you're scraping the underside along the mud with your wheels in ruts (right).
GoingOverland.com had their Salisbury axle snap through the axle tube and whilst not a diff failure, presented certain challenges you wouldn't get with a Td5/Puma axle. Photos here.
The axle
After some time in 2002, all 110/130 Defenders used the "P38 short nose Wolf axle". These are all the adjectives you would probably read in conjunction with this axle, but they are also known as Td5 or Puma rear 110 axles.
- "P38" refers to the P38 Range Rover having the differential front and rear, although the axle casing for this vehicle does not fit a Defender
- "Short nose" refers to the differential's comparison to the other "Rover type" differential fitted to all Defender/Discovery 1&2 front axles and Discovery/Defender 90 rear axles
- "Wolf" refers to the fact that all the Wolf defenders (including 90's) built from 1998 had this axle
There are 2 and 4 pin versions (2 pin for the front of the P38) and also 16mm and 18mm versions referring to the diameter of the pins; the latter being used in the Wolfs.
It is important to note that the Defender 90 axle would also fit a 110, but there is a possibility it would not be legal due to the fact that axle was not designed to cope with the forces and weights that the larger vehicles were designed for.
Identification
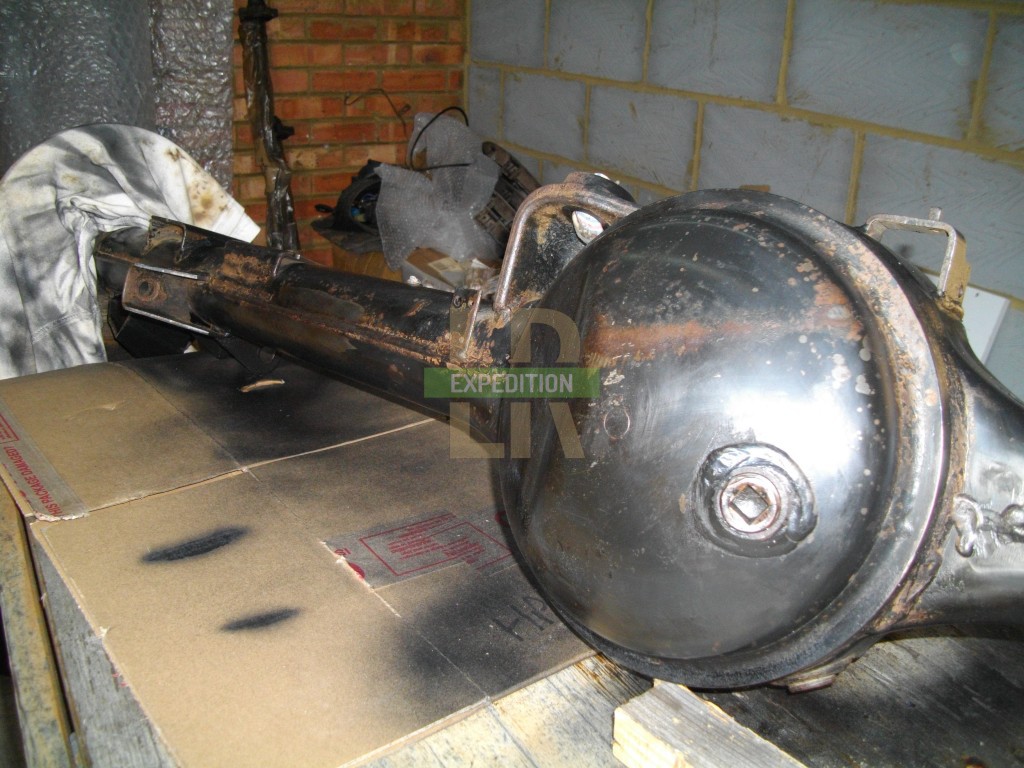
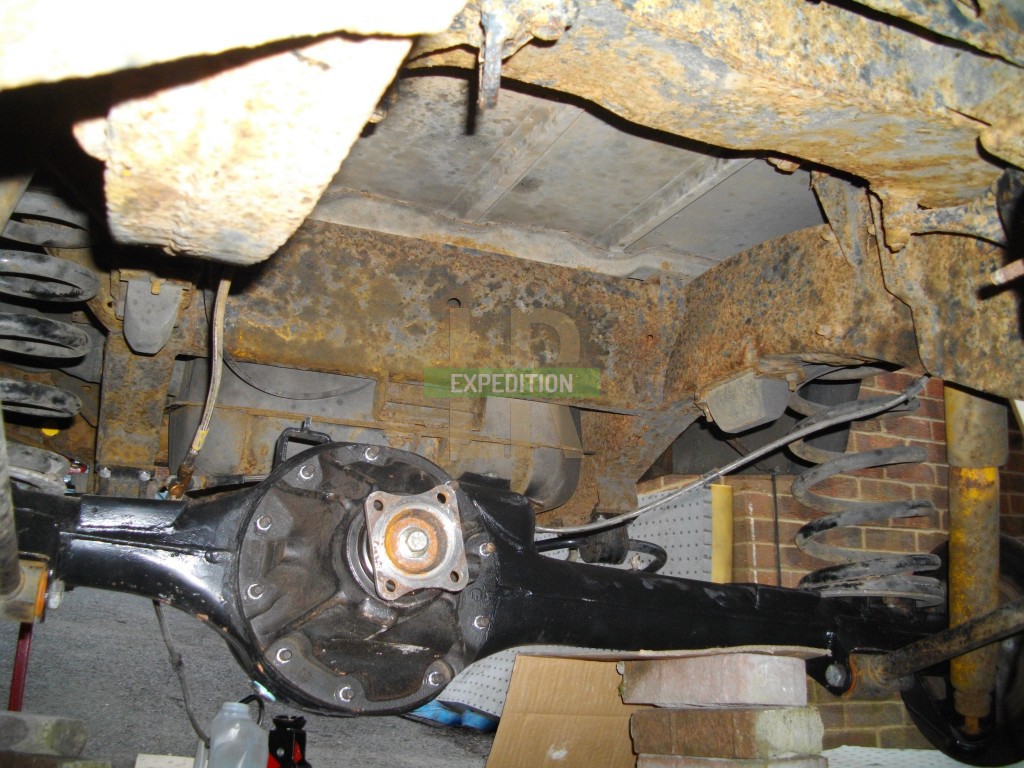
The Salisbury axle has a squarer bottom
The Td5/Puma 110 rear axle has a rounder diff pain

The Wolf axle is like the 110 axle above, but has diagonal bracing struts along the length

Straight swap
The axle is a straight swap on a 300Tdi. The mounting points are the same and there is a propshaft to suit. This is because 300Tdi ROW spec Defenders were manufactured with this axle until 2006.
What you need is the rear axle (ideally with hubs and calipers) and if fitting to a 300Tdi, a Td5 Defender 110 propshaft is required (FTC4198) as the differential is shorter. The Puma propshaft (post 2007) will not fit as the Transfer box is in a different position and the propshaft is shorter.
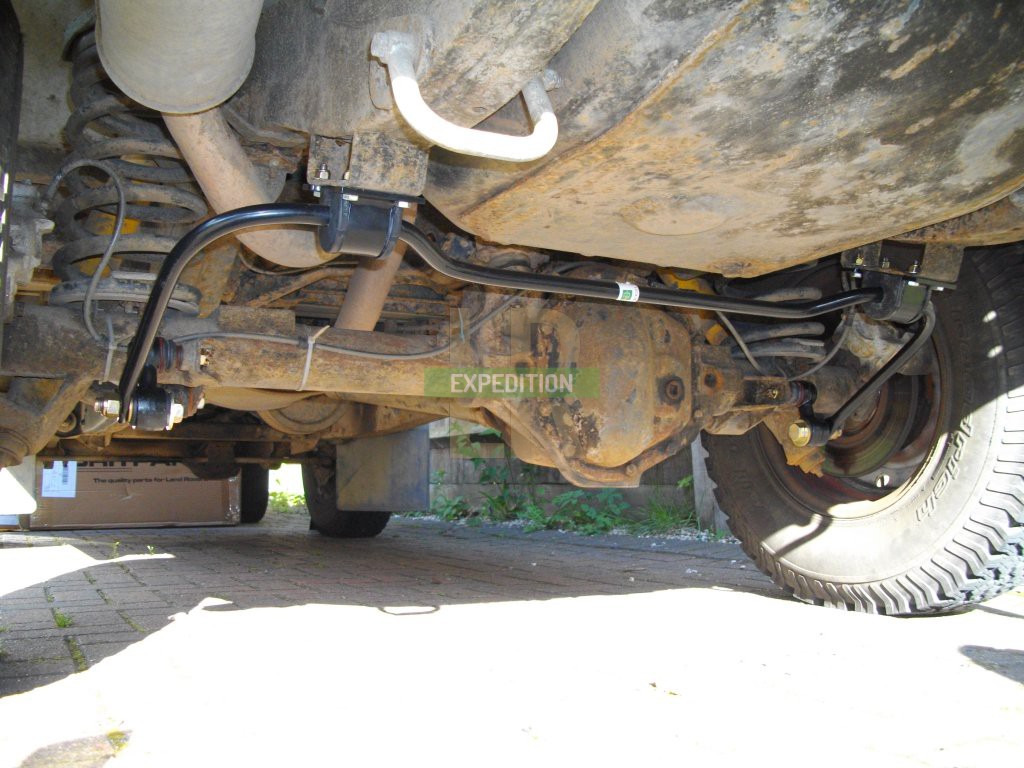
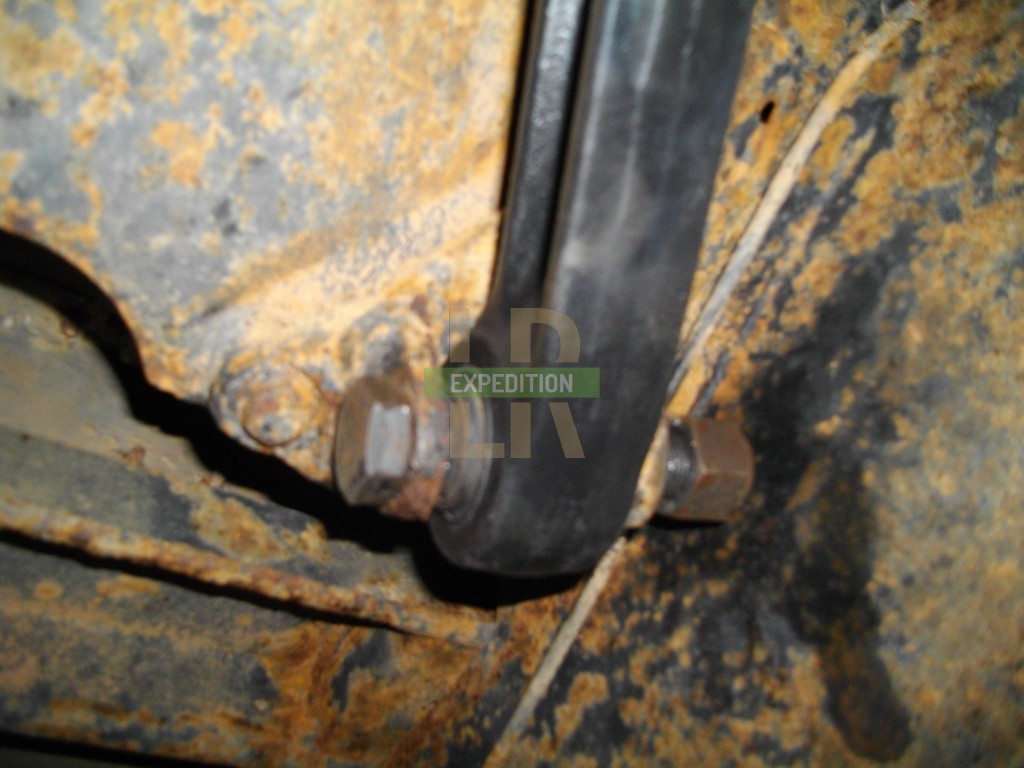
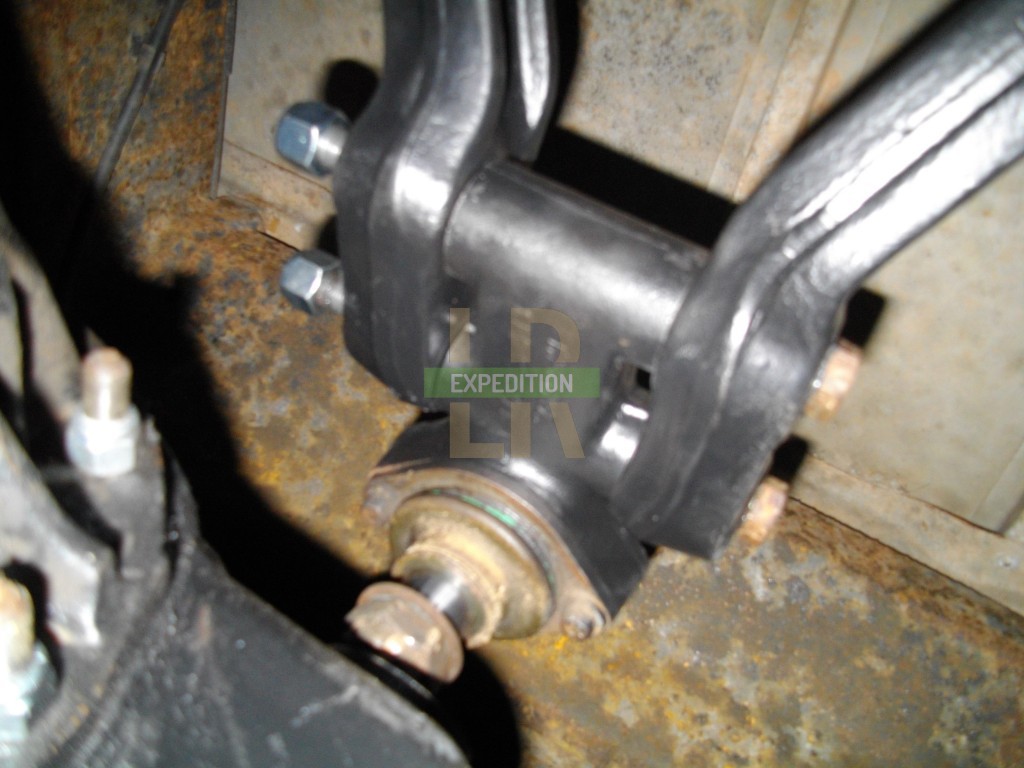
The lower link arms and A frame is common through the years so you can keep your existing ones
Fitting the axle
It's a physical struggle to replace the axle on your driveway; they are extremely heavy pieces of metal. It's mostly a "nuts and bolts" job and took me an entire afternoon after preparation.
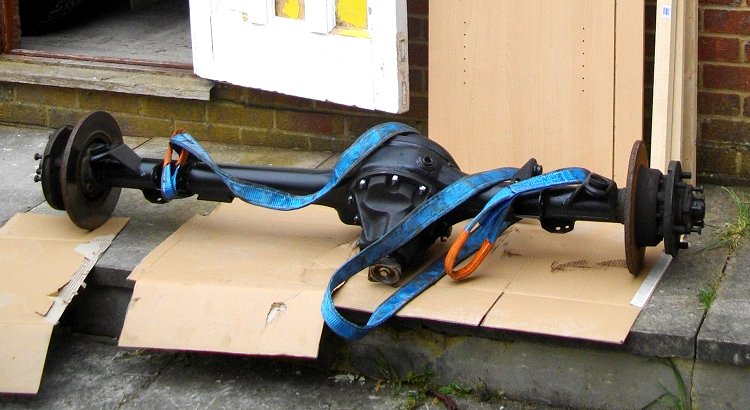
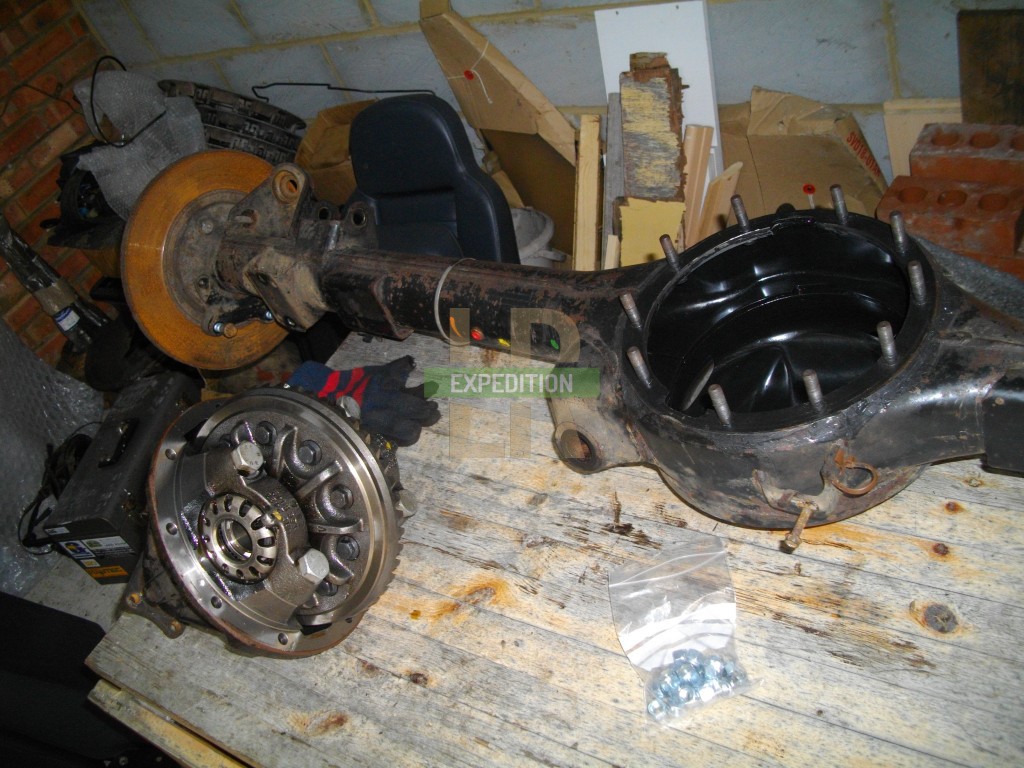
I spent £350 on the axle and propshaft from a 2006 Td5 110. It came with the A frame and lower link bars also. I removed the differential to check it out then replaced with some sealant and new nyloc nuts. They are 3/8 UNF.
See the Td5/Puma 110/130 rear axles for sale (eBay link).
LR Expedition may receive compensation for purchases made using the eBay links.
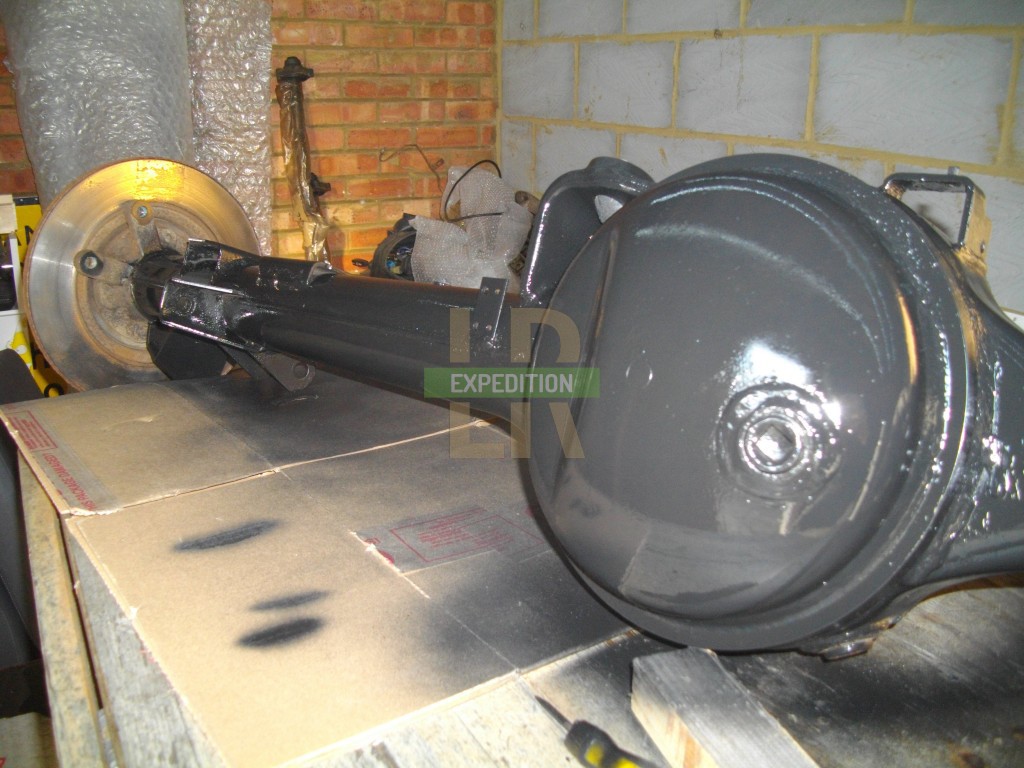
I painted the axle casing first as it seemed a good opportunity. I used Eastwood Extreme Chassis Black (eBay link). I've found it to be a really good paint that doesn't let rust through within months and is very tough. Most of the "exterior/metal/enamel" paints that you get in any hardware store are useless.
LR Expedition may receive compensation for purchases made using the eBay links.
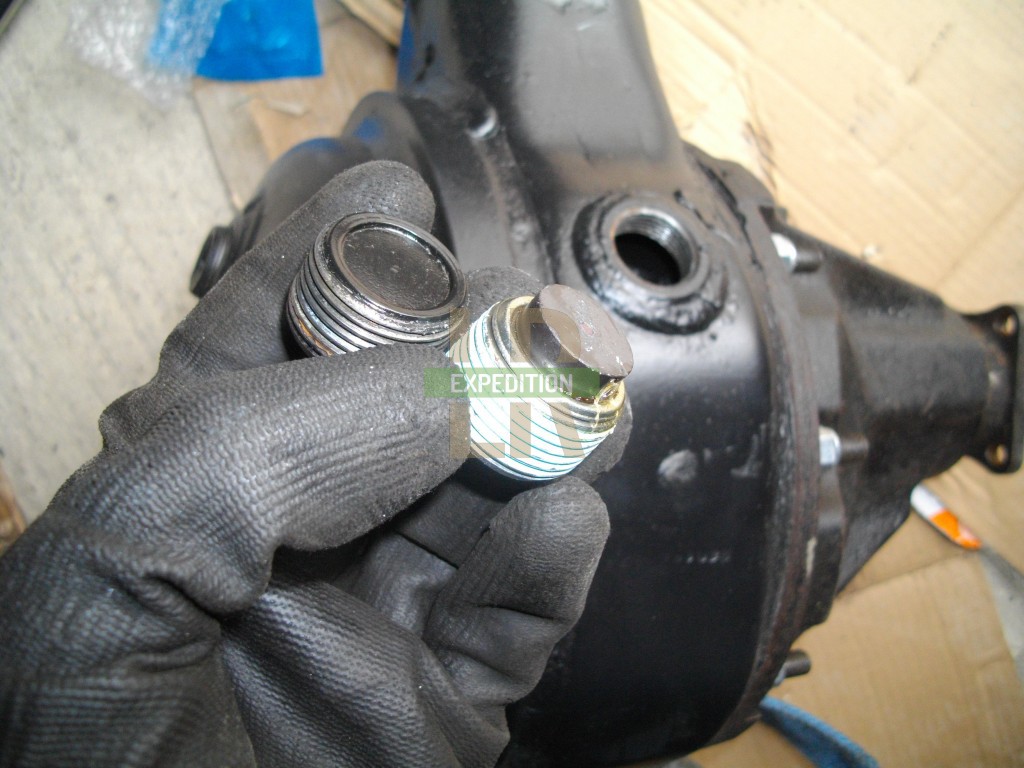
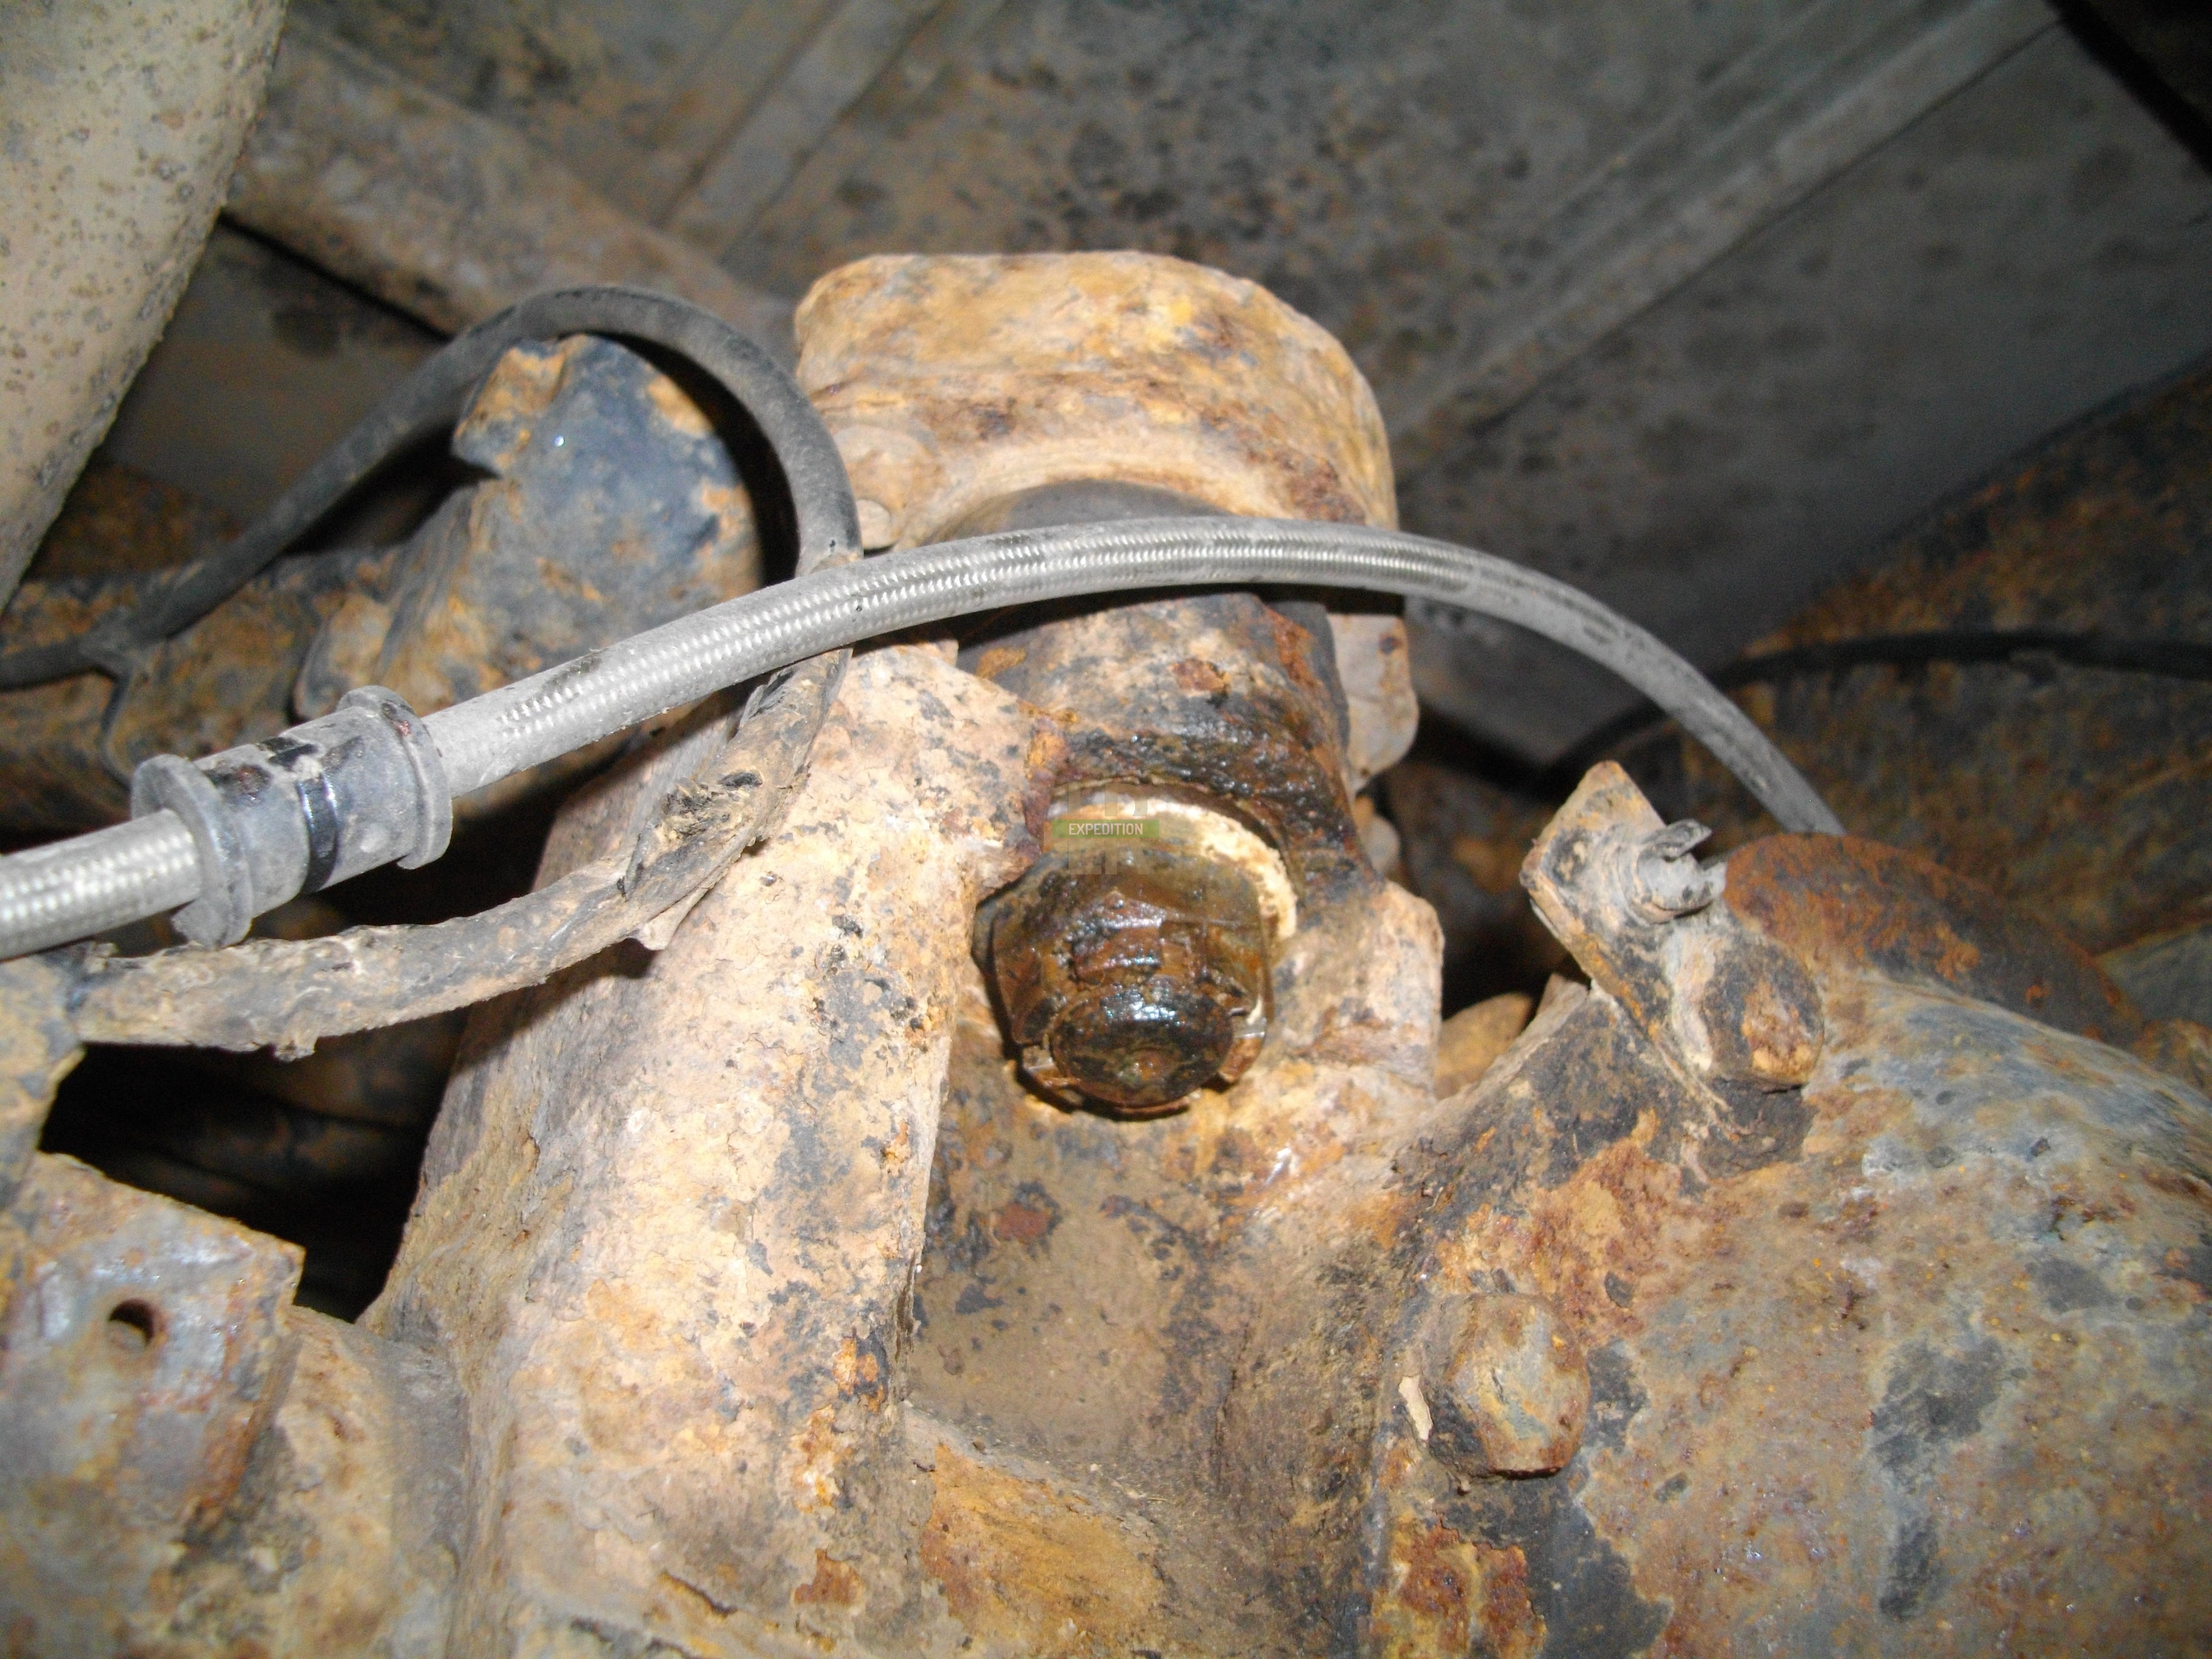
I also fitted a magnetic axle drain plug (TYB500120) as fitted to Discovery 2's to catch the metal shards in future. The A frame ball joint did not want to part with the axle casing, so seeing as I had a new A frame, I removed the entire A frame along with the axle in one go.

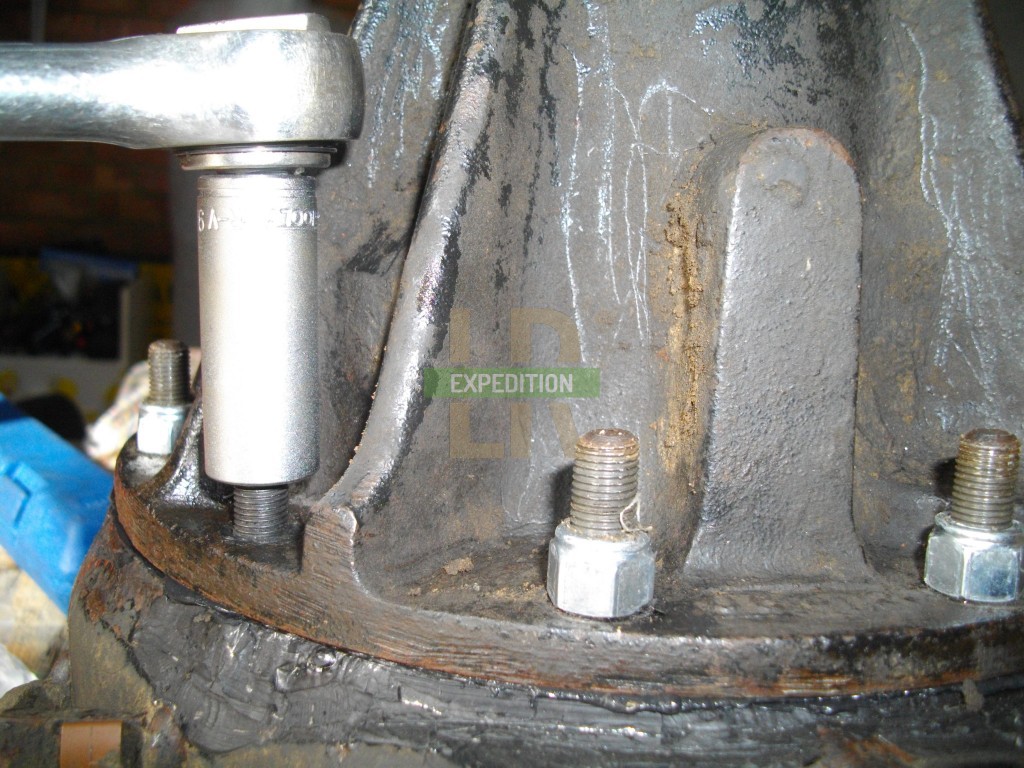
One of the nuts did not want to undo, so out comes the angle grinder!

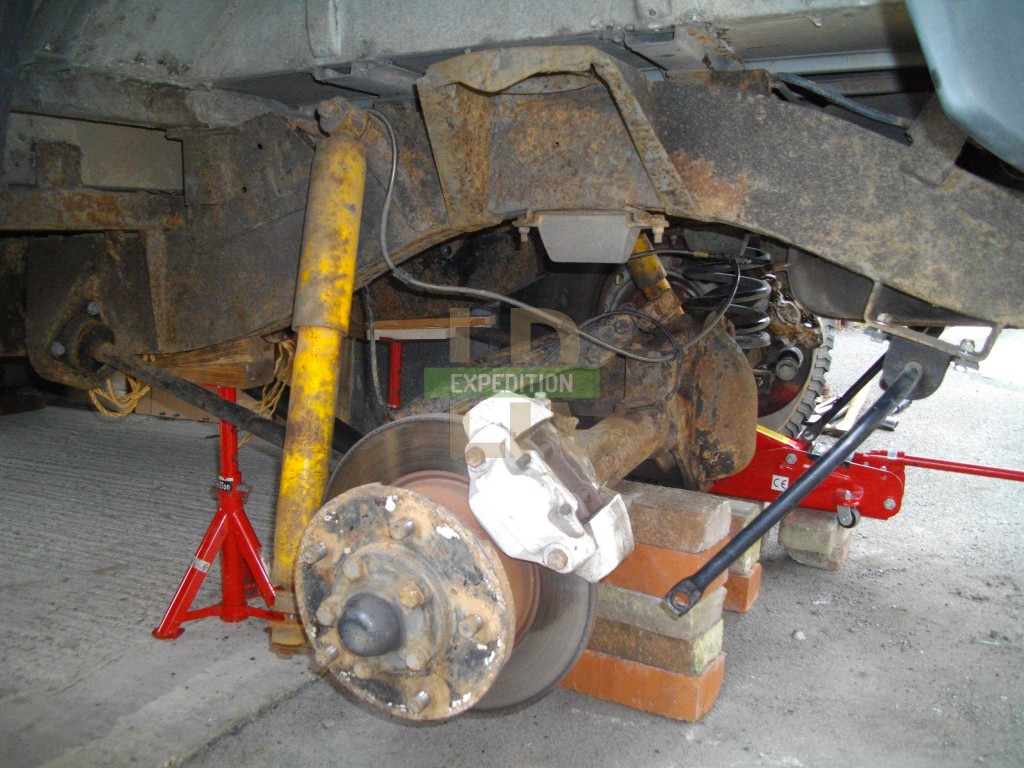
I supported the body and removed everything attached to the axle, supporting it on bricks. I would recommend not to use folding axle stands like I have in the pictures. I also had a Hi-lift jack supporting at the back.
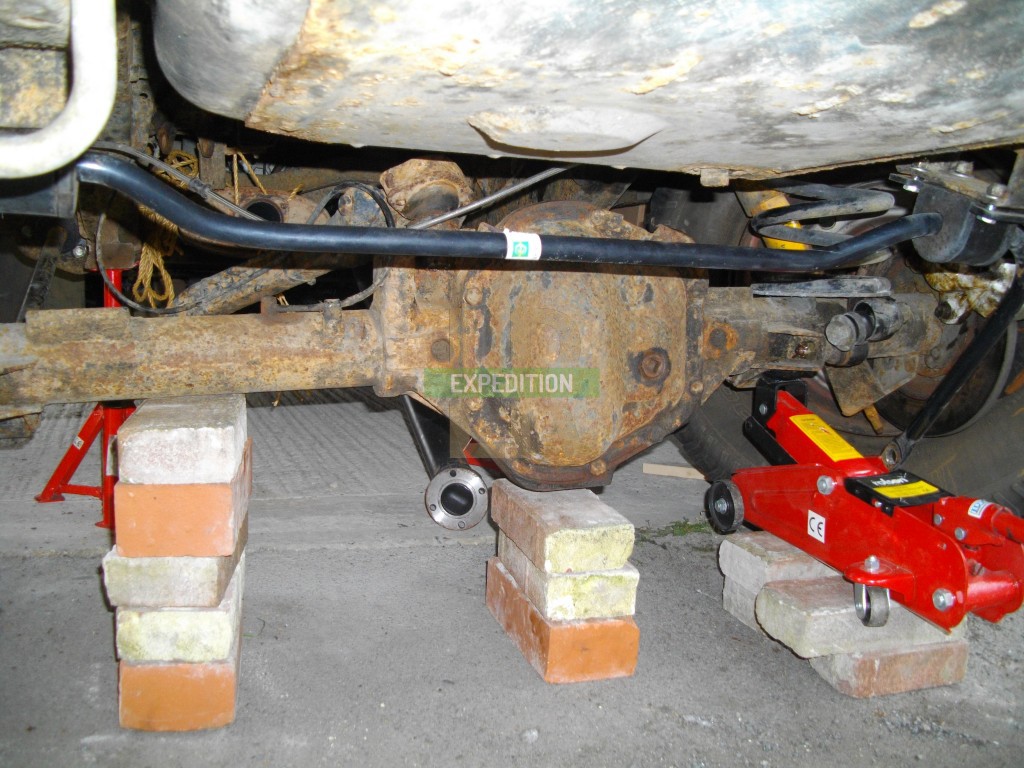
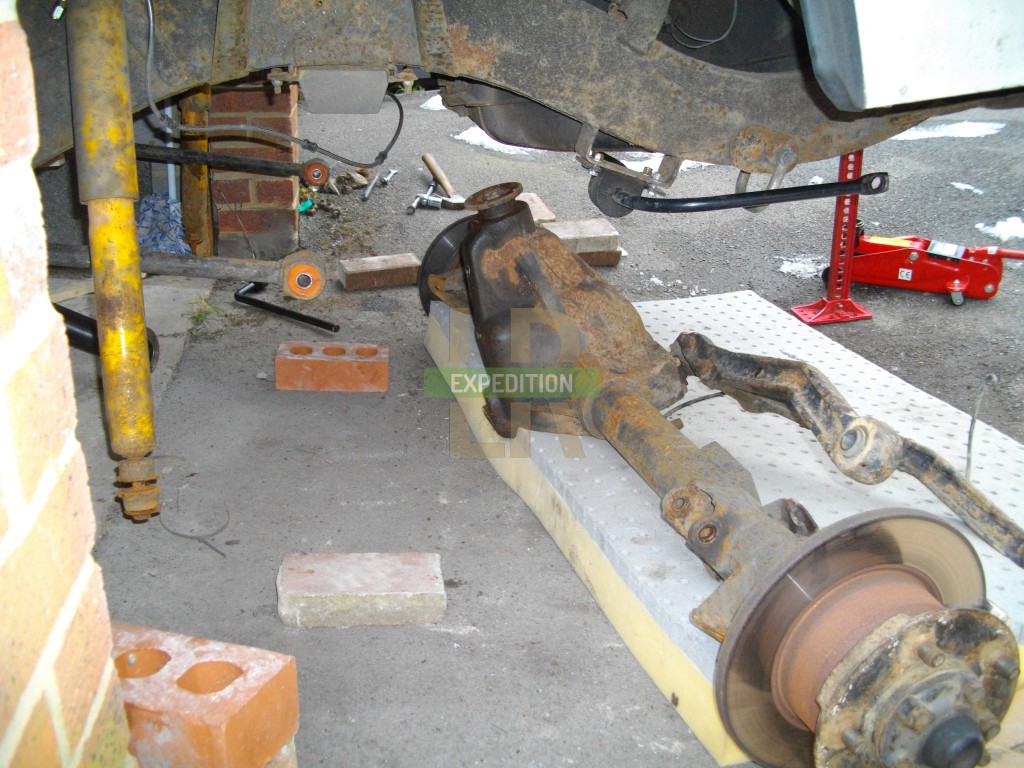
I raised each side of the axle in turn and removed a brick, before lowering that side and switching to the other. Eventually it was sitting on a foam mattress on the ground so that I could pull it out from under the vehicle. I placed the new axle underneath and jacked it up using the same method in reverse.
The new A frame was fitted and also the lower link arms.
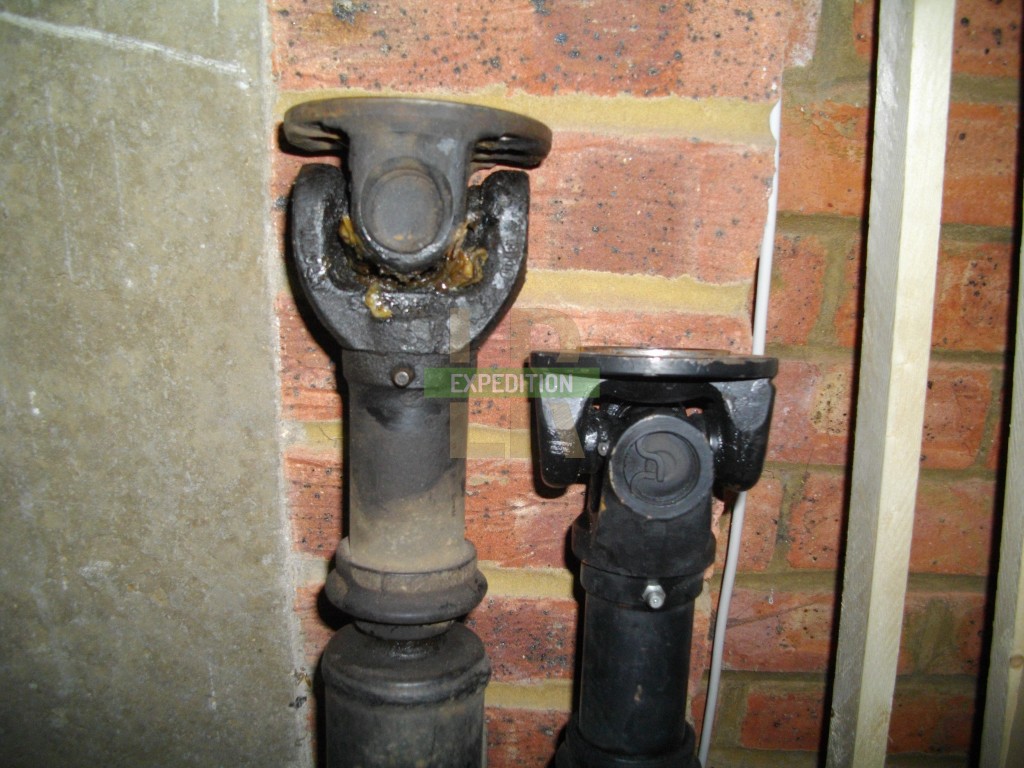
This shows the difference in the propshaft length required to fit to a 300Tdi. FTC4198 (120cm) on the left and FTC3905 (111cm) on the right. This accounts for the shorter diff pinion compared to the Salisbury.
The only other thing to do was connect up the brake lines. The newer axle has ABS and Traction control, which means that each caliper had a separate brake line and there were sensors running to each hub. I removed these and used the brass T-piece connector from the Salisbury axle.
It's one of those jobs that takes a load of work and you get no perceivable benefit as the vehicle just works as normal (albeit with the 65mph whining gone). From my point of view it's created a better platform from which I can work from for future upgrades and gives a bit more fixability.