Upgrading to Td5 Reverse and Fog lights
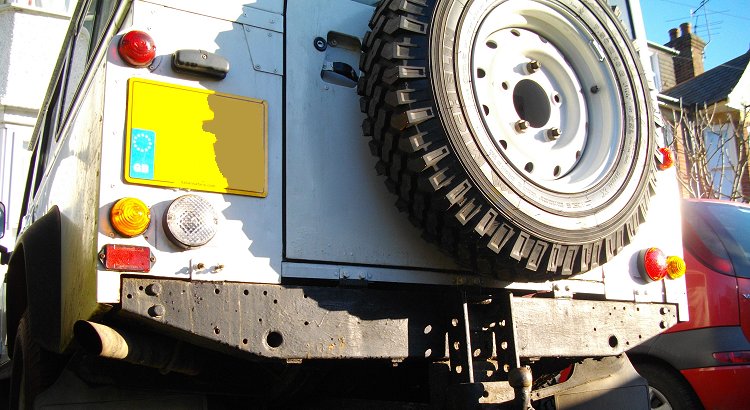
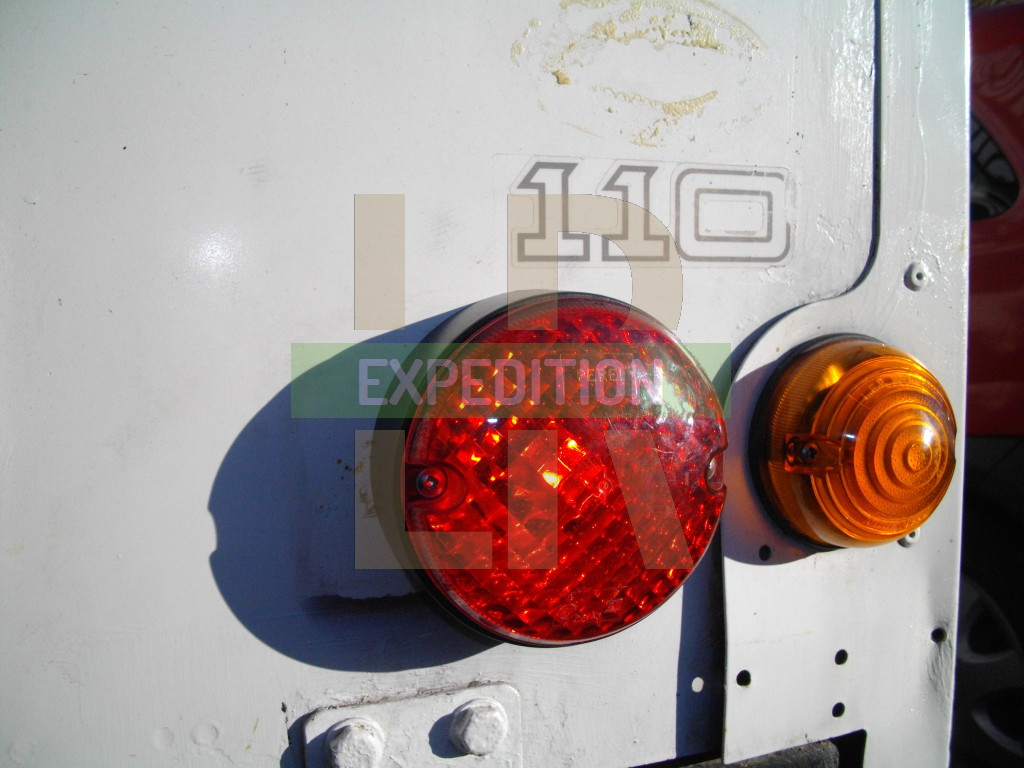
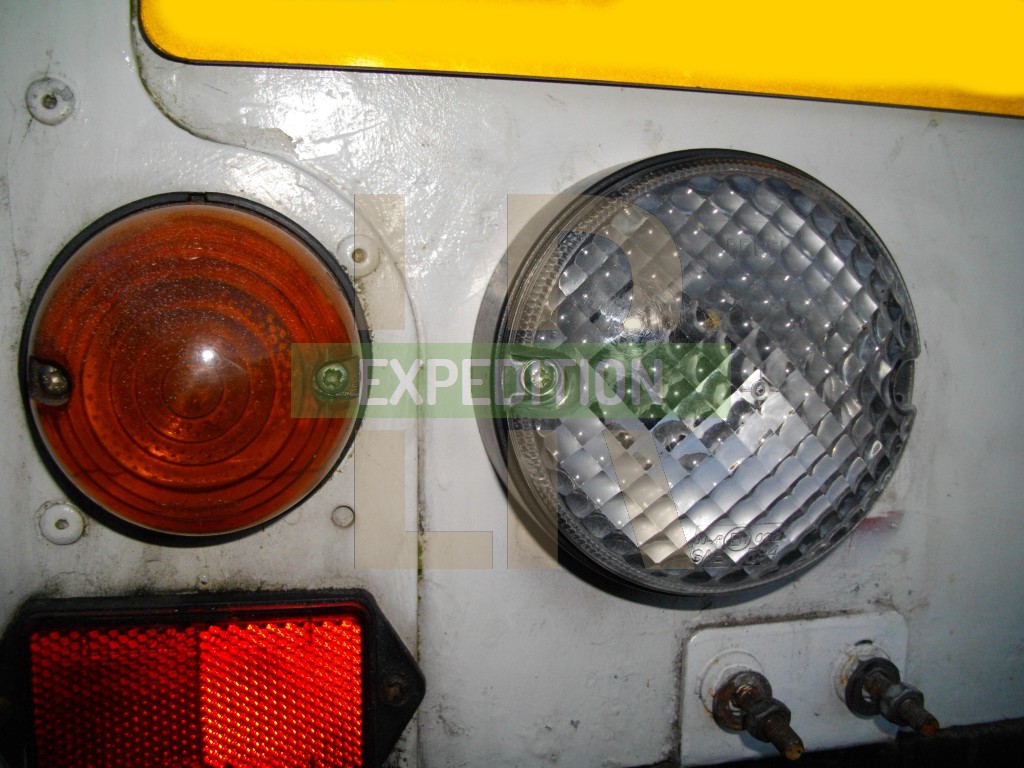
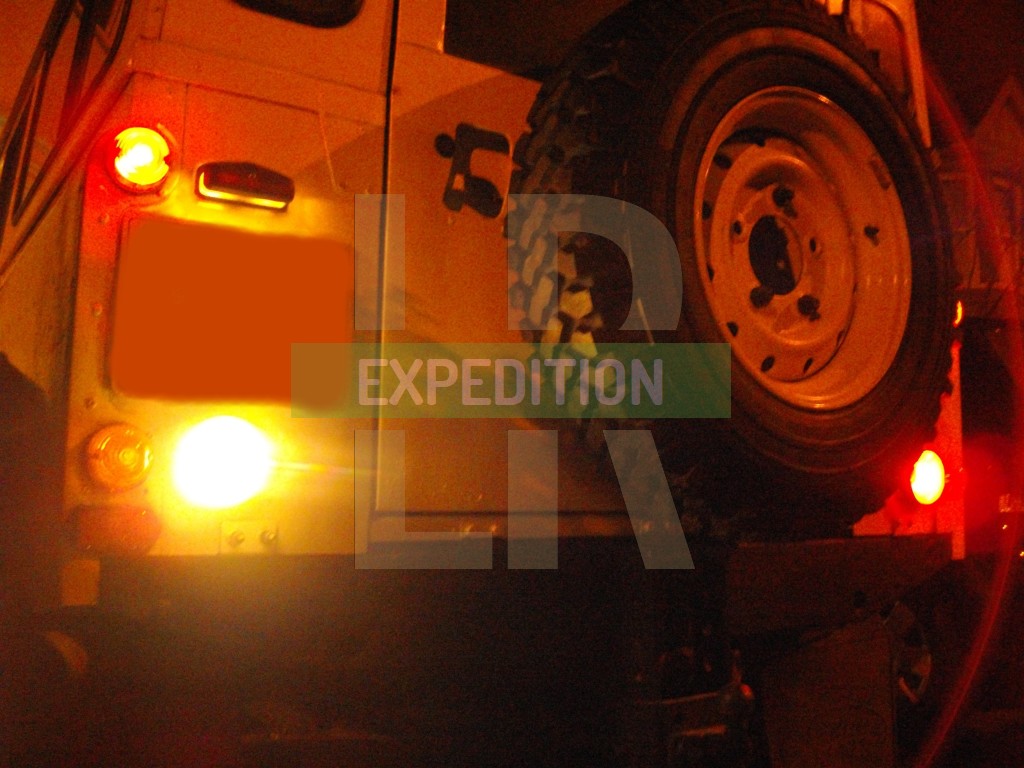
I don't like the rectangular Reverse and Fog lights on Defenders. They fill with water, the connections corrode, the bulbs become loose and people stand on them when climbing up to roof racks. They also look dated. The circular lamps as fitted to Td5 Defenders onwards have sealed connectors, easy fittings and quite frankly look more modern. They are also still used right up to today and are a cheap upgrade.
Whilst Fog and Reverse lights are not particularly important when you're in the middle of nowhere on expedition, lights invariably easily fail when away from civilisation, meaning that when you're back in town it can create problems. Upgrading to these newer style lights will help in a small way!
These style of lamps are also called "NAS" (North American Spec) as they were also fitted as sidelights, indicators and brake lights for the USA market. It also seems quite a popular upgrade for some in this country, but I think the bigger lights all round look naff and non-standard.
It's a fairly straightforward job, with a little preparation of parts and electrics. The first lamp took me 3 hours and the second 2. The longest job was drilling the rusted bolts holding the old lights on.
What you'll need
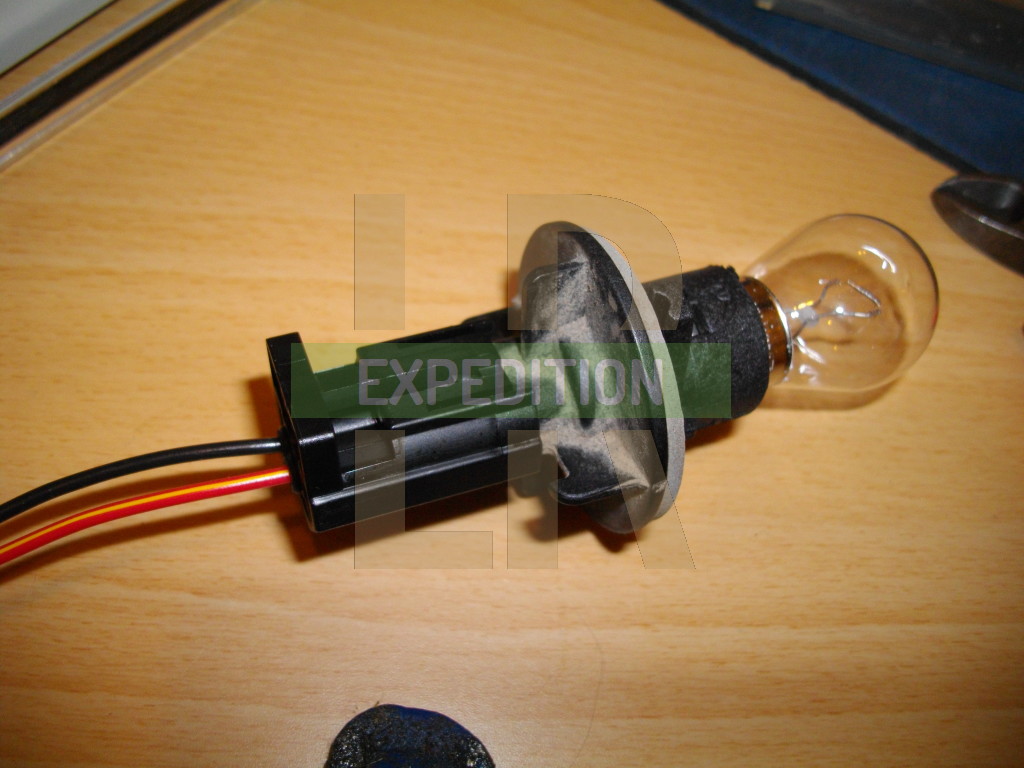
- Rear fog (XFE500010) and Reverse (XFD500010) lamps, consisting of lens, plinth, bulb holder - About £5 each in junk sales or Vehicle Wiring Products
- Four M5 x 12mm bolts with Nyloc nuts and washers - £2 eBay
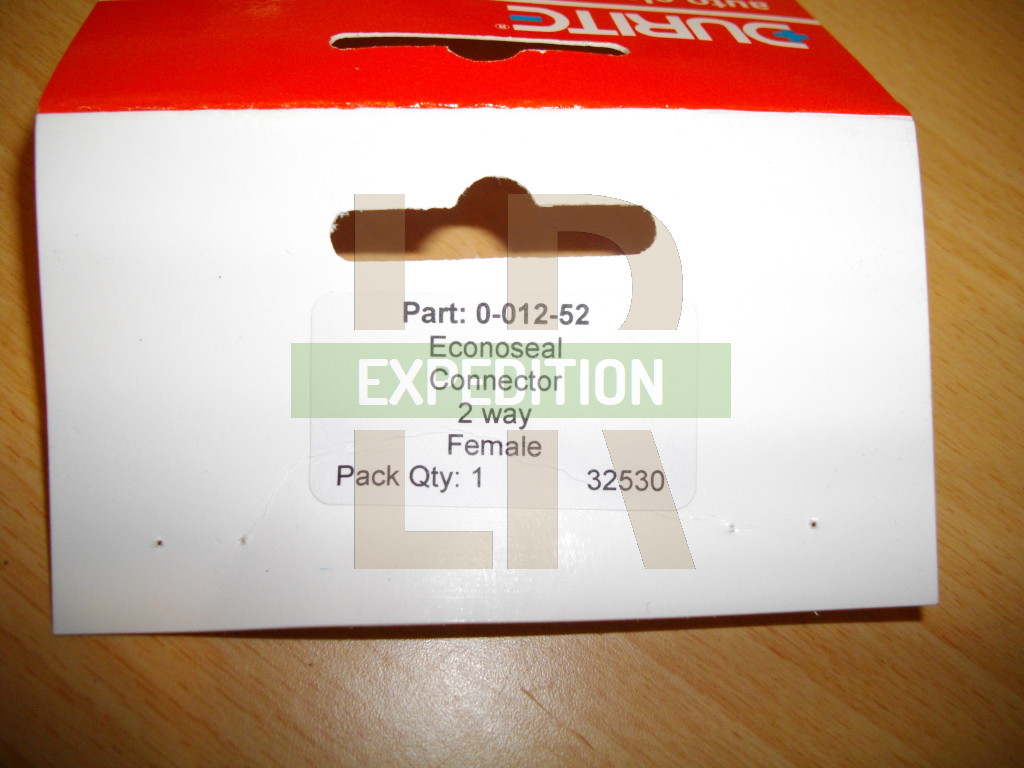
- Two Econoseal female connectors no. 01252 - Pole Volt £2.30 each
Tools
- Drill and HSS drill bits
- Circular hole cutter (optional)
- Hack saw (optional)
- Screwdriver
- Masking tape
- Pen
- Bullet connectors
- Soldering iron
- Crimping tool
- 8mm spanner
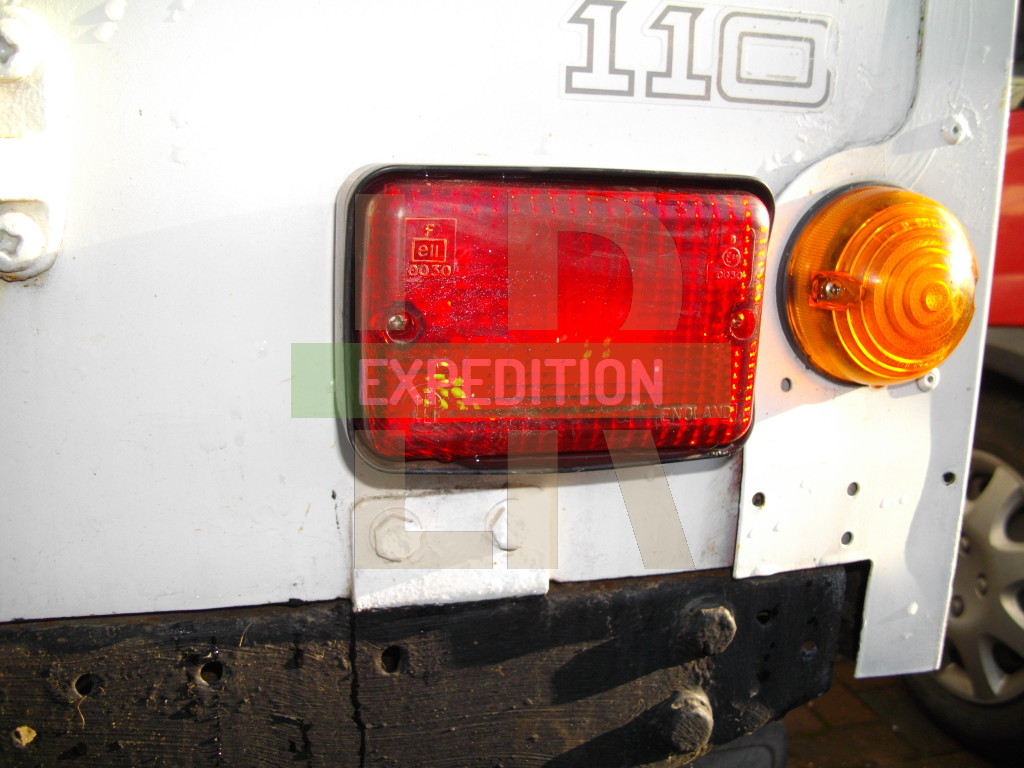
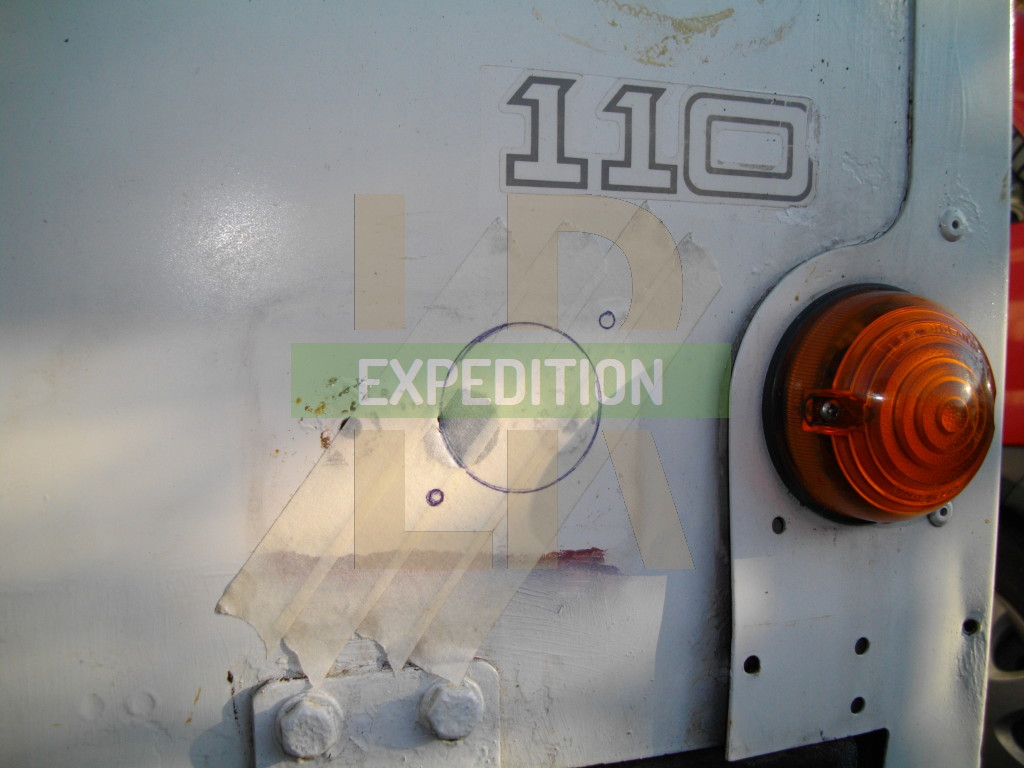
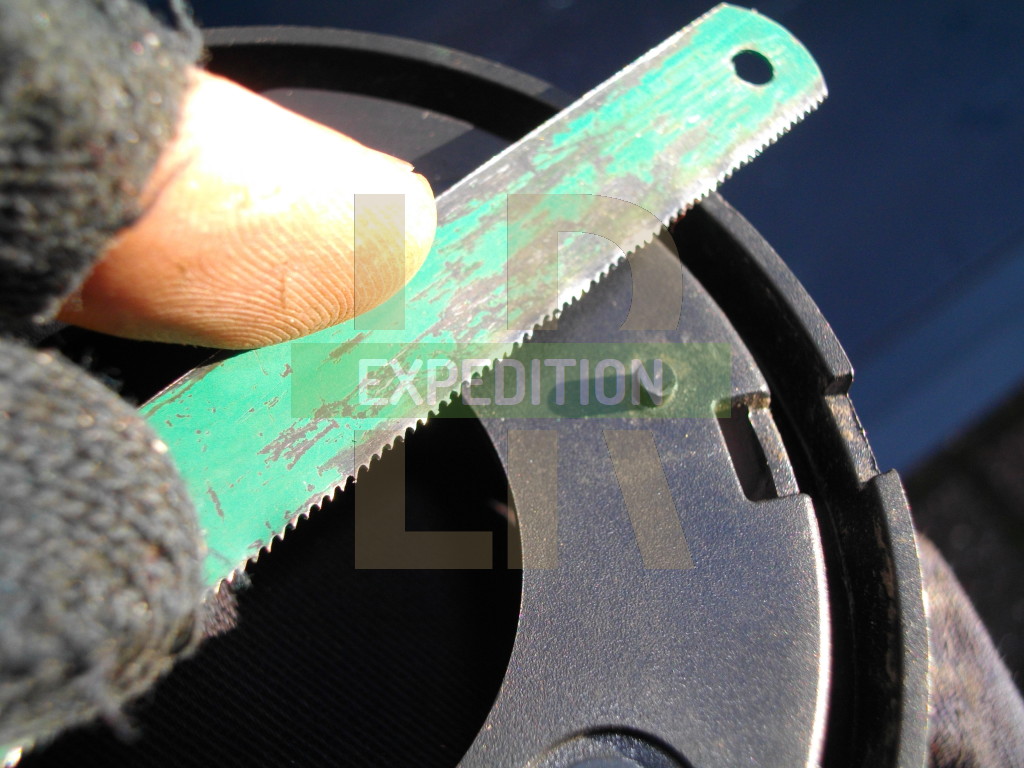
Remove the two screws holding the lens on the current lights. You will see two blobs of plastic which hide the nut heads in captive plastic mouldings. You may be lucky and be able to unscrew the nuts by bending your arm up around, but as they had been in the path of flying wheel spray, they had rusted solid - so I had to drill them. It took a while..
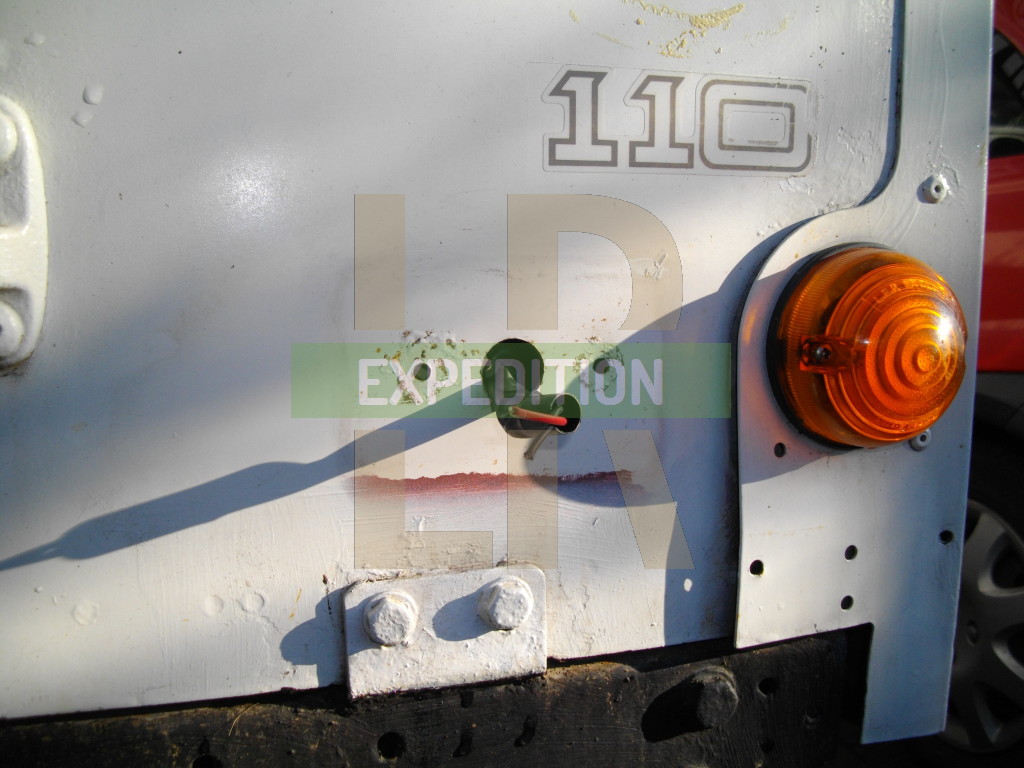
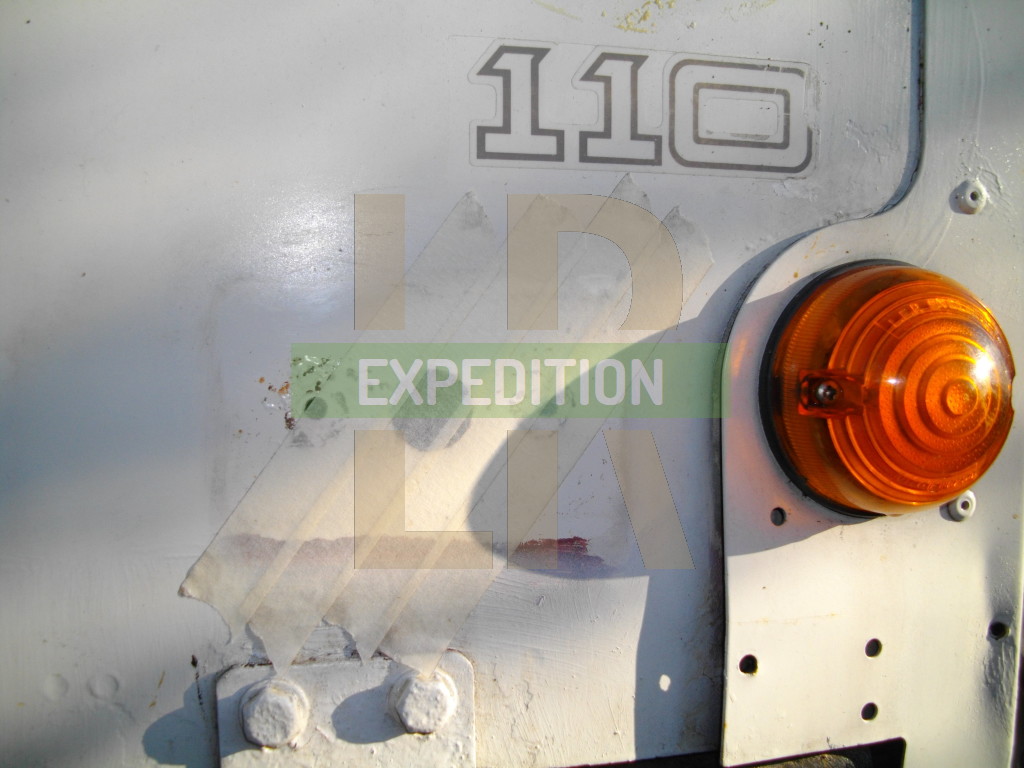
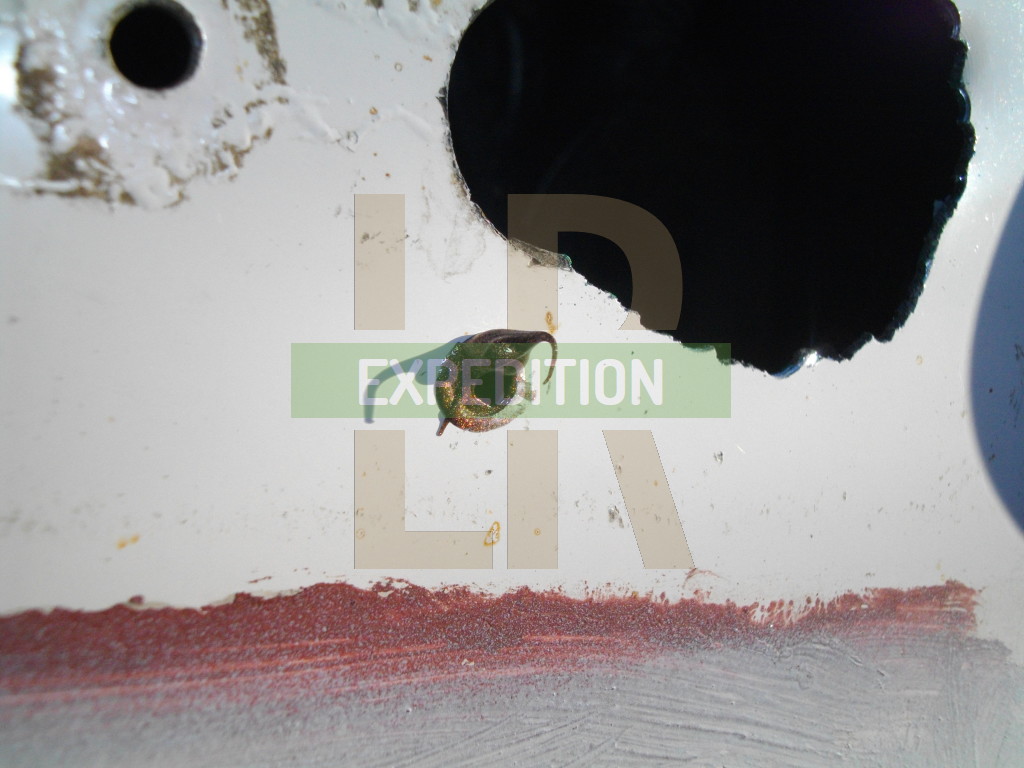
Once through, cut the connectors on the wires and pull the plastic piece away. I found some evidence of a previous paint job. Place some masking over the area and then stick the plinth to it with some blu-tac. The cut out notches go at the bottom.
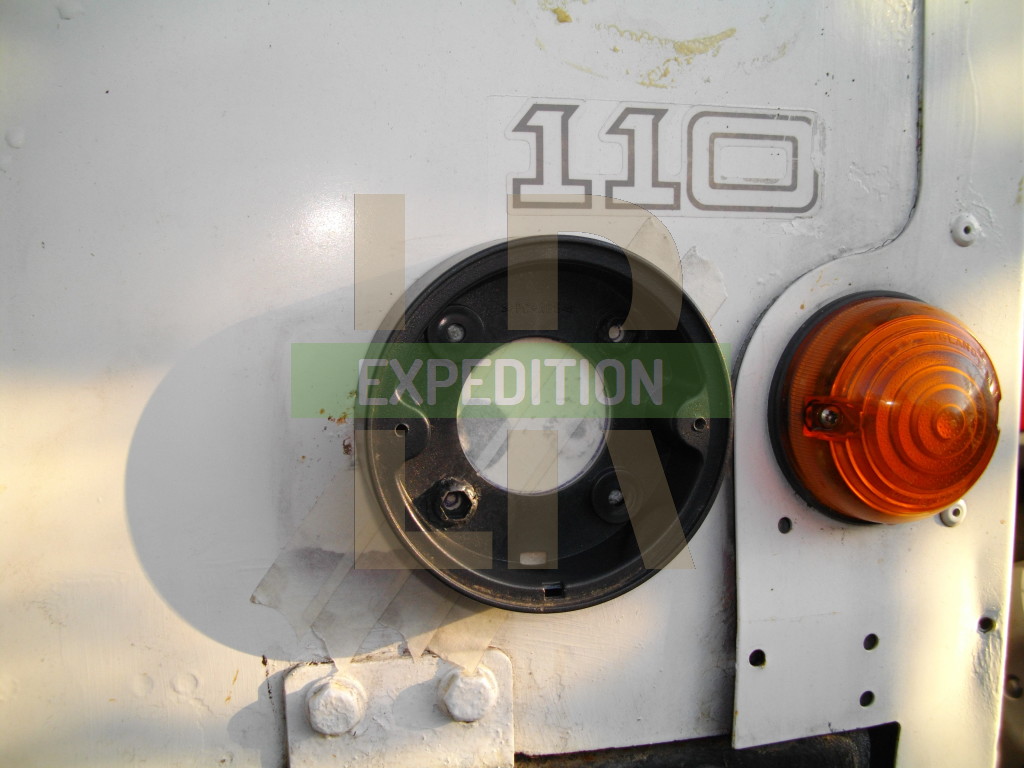
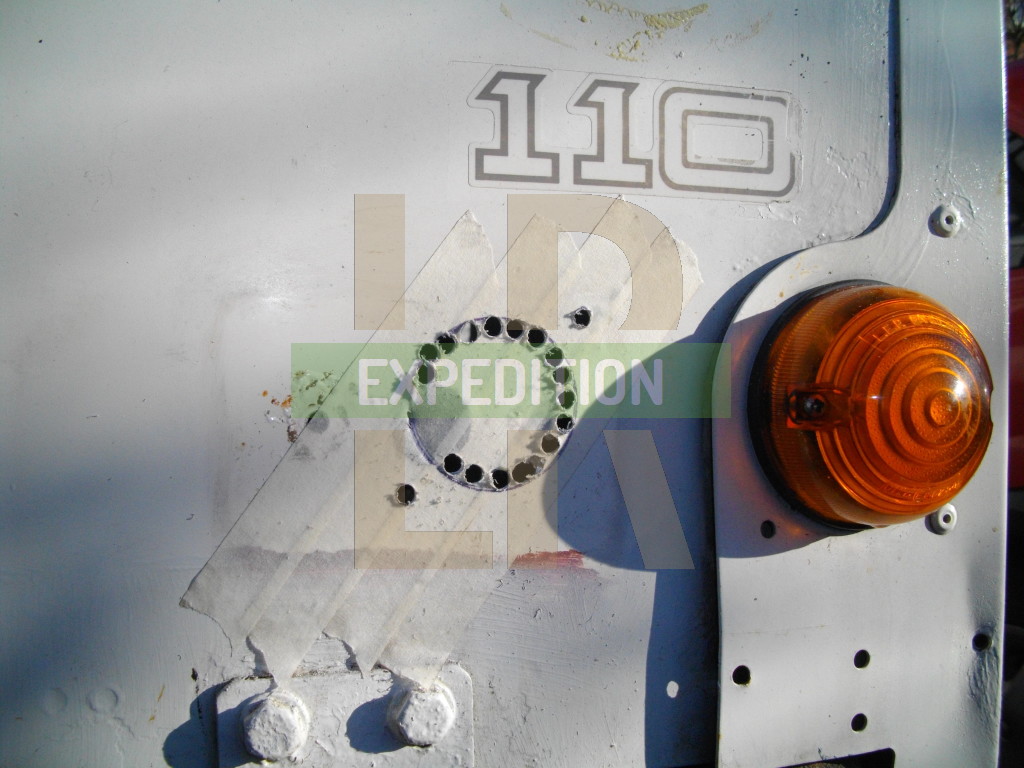
To look right, the lens screw holes have to be in line with the indicator screws and the edge has to be as far from the corner trim as the indicator is. Using it as a template, mark out the centre section and the two bolt holes. Draw the outer line of the bolts holes and you will be able to drill more accurately. Double check all the holes line up and the plinth will be in the right place, then start drilling!
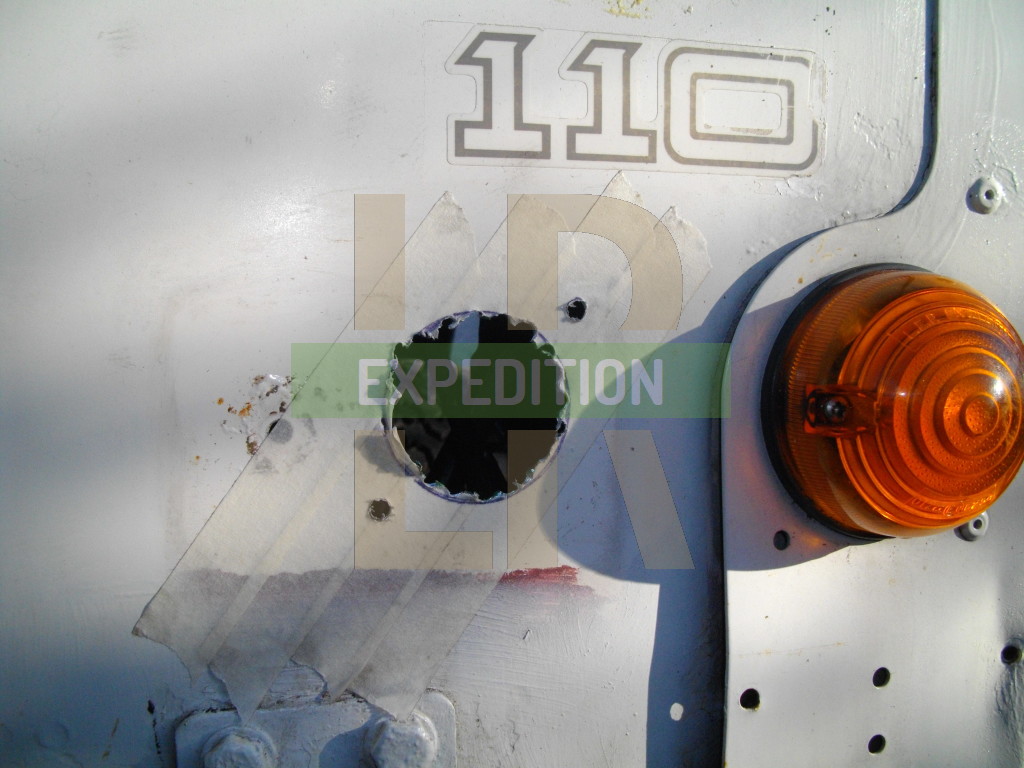
I didn't have a circular cutting disc of the right size so I drilled a lot of holes around the middle circle. You can then tap or cut through the thin connecting pieces. I tidied it up with the hacksaw and made sure the bulb holder would fit through.
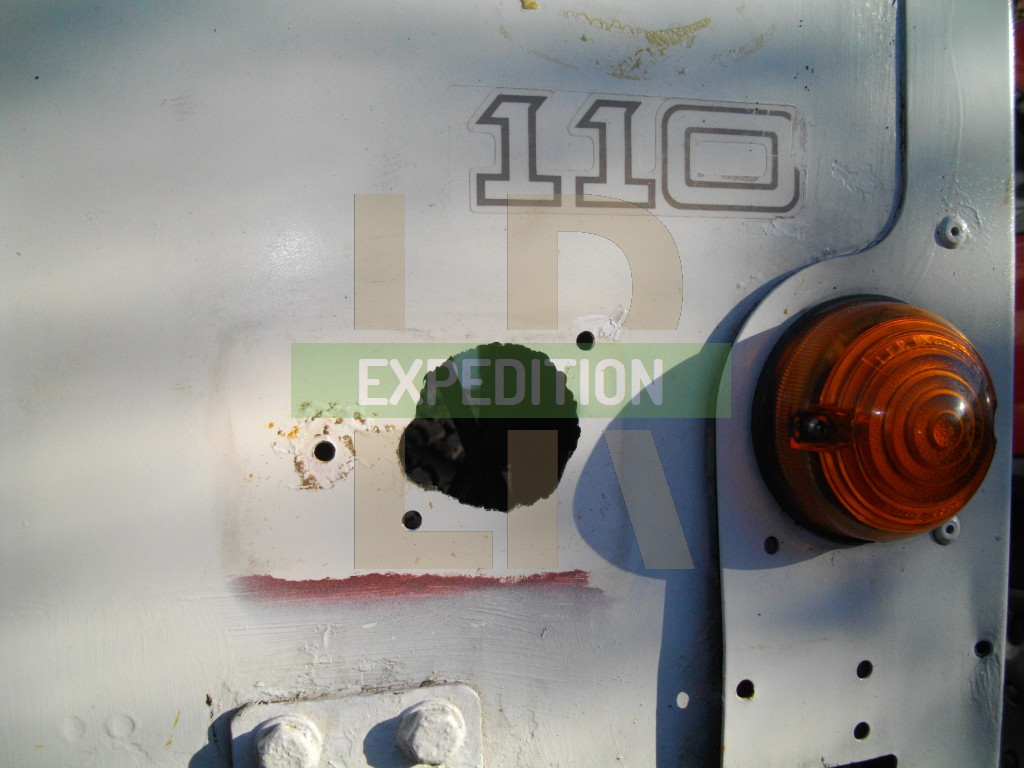
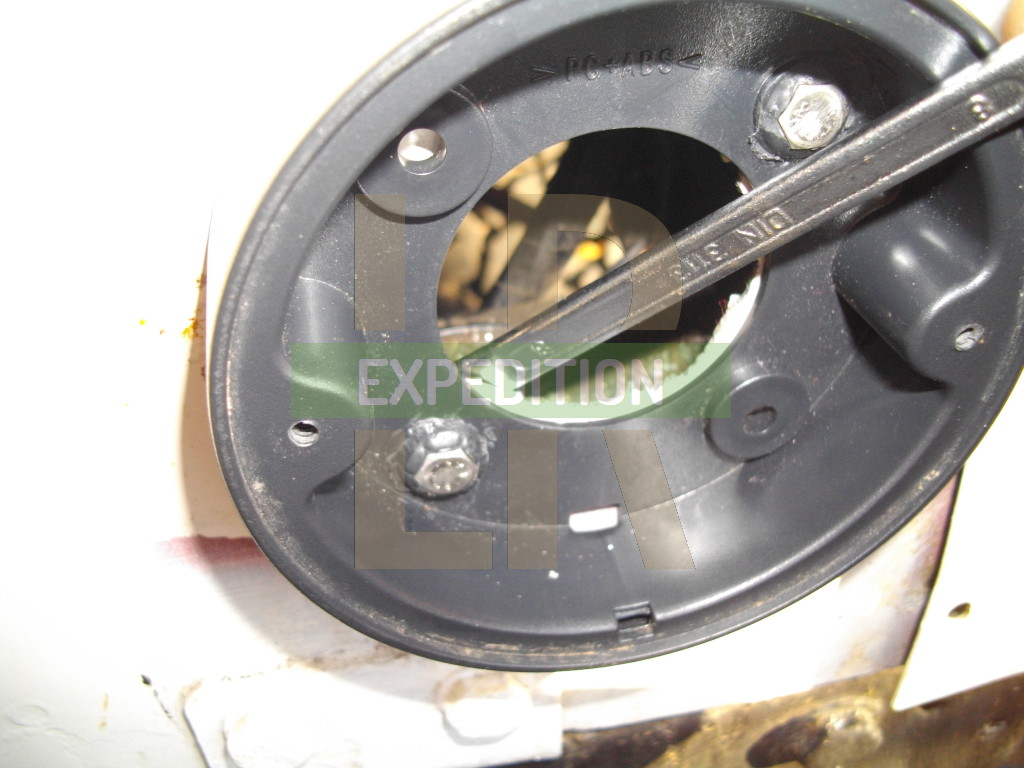
There is a small nobble on the back of the plinth which presumably is to line it up, but I cut it off. The bolts sit in the plinth and are held captive. I put a bit of copper grease in the holes to coat the bolts as they're put through, and most of the tighening could be done through the hole with an 8mm spanner.
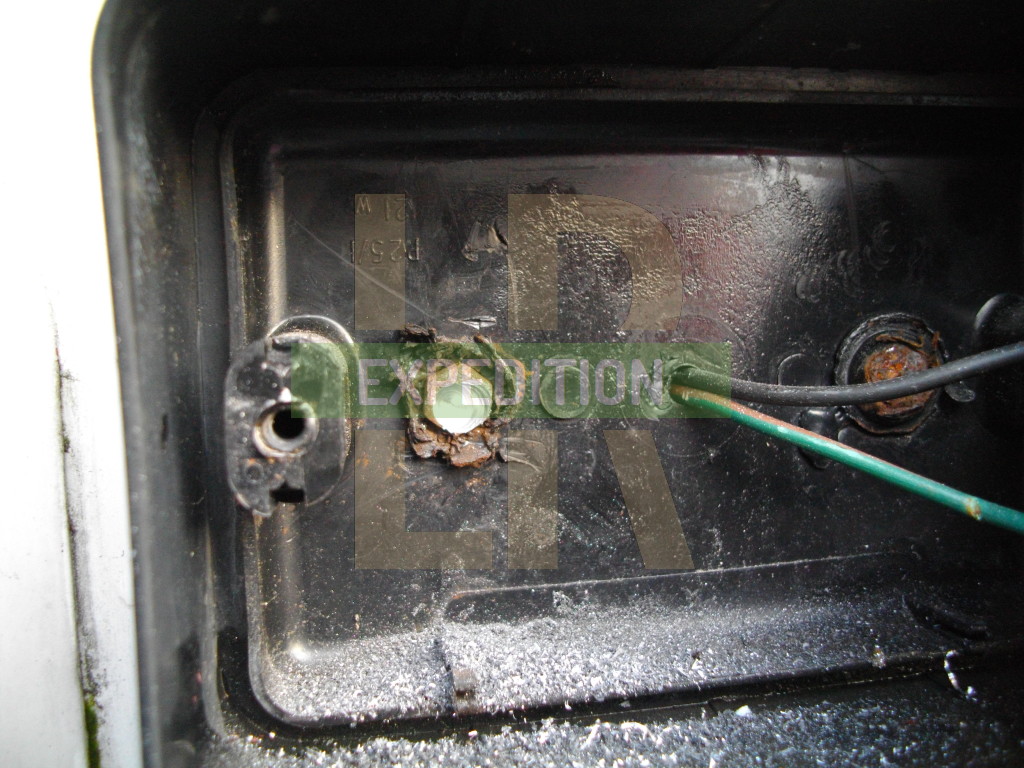
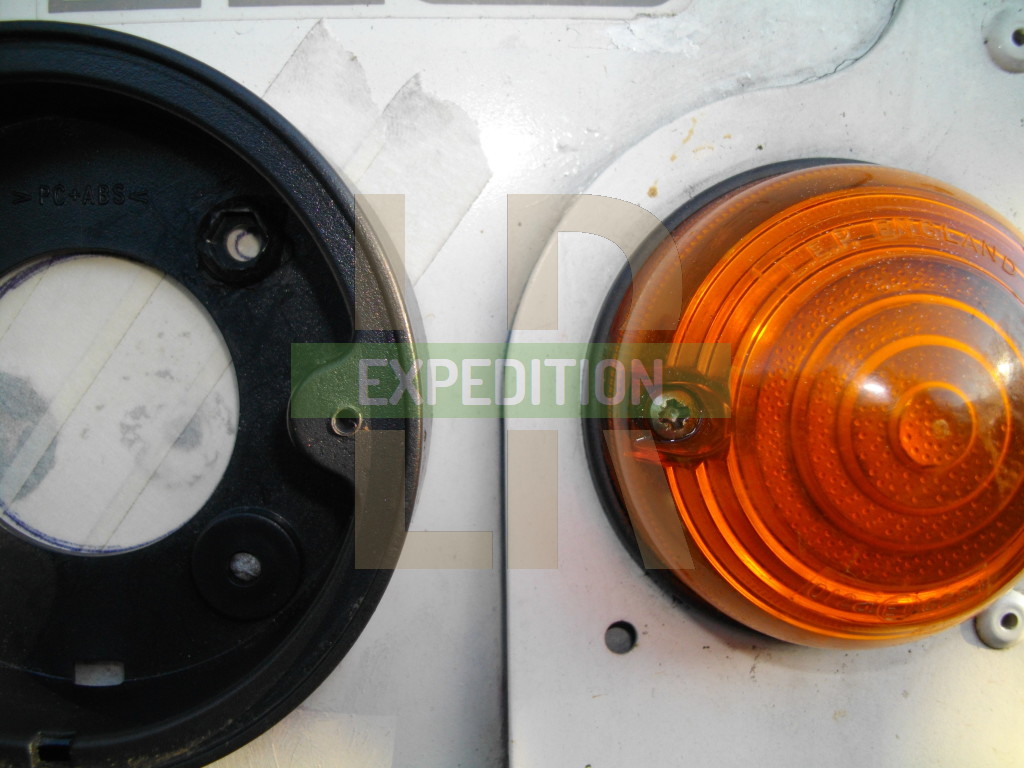
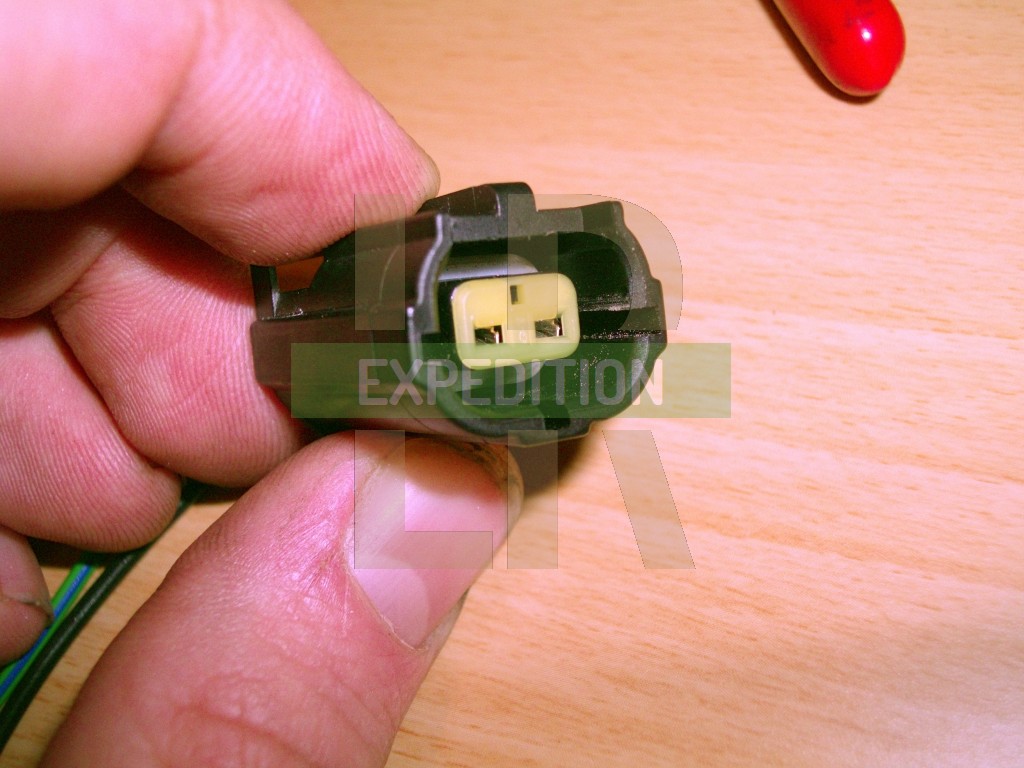
You can now either attach the connectors to the wires, or as I did, to new pieces of wire (indoors in the warm!), which I could then crimp bullet connectors to once outside. The connectors require the wire stripped and soldered into metal pins, which are pushed into the connector. A yellow plastic guard is put on the front and rubber bungs slid over the wires at the back.
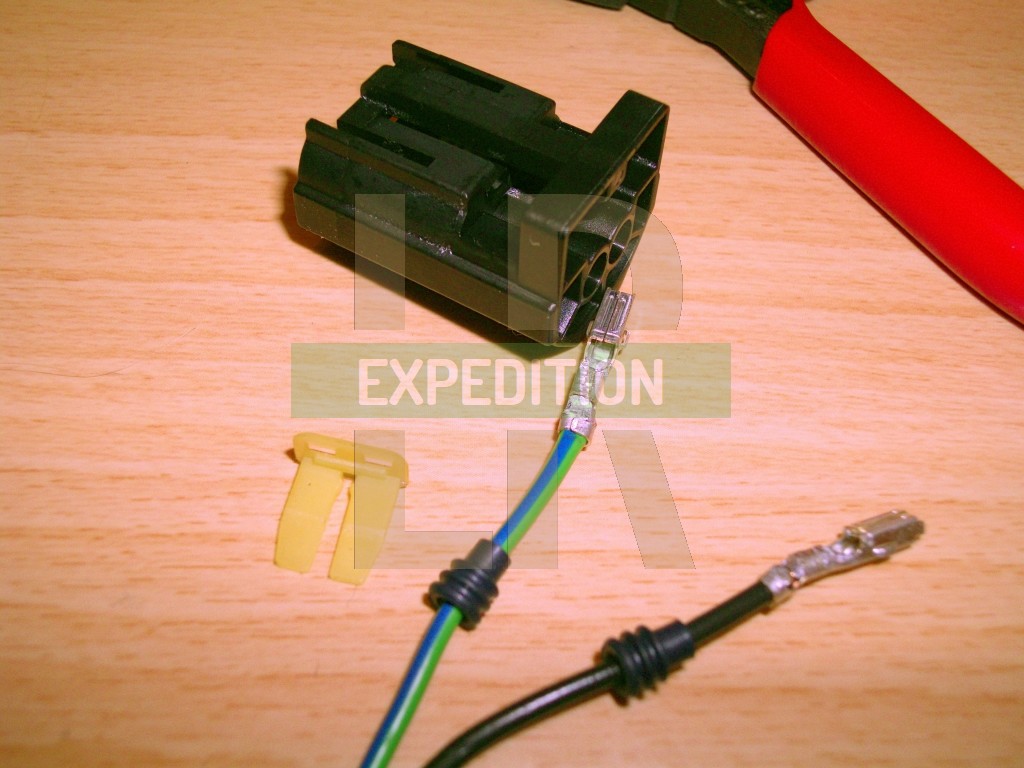
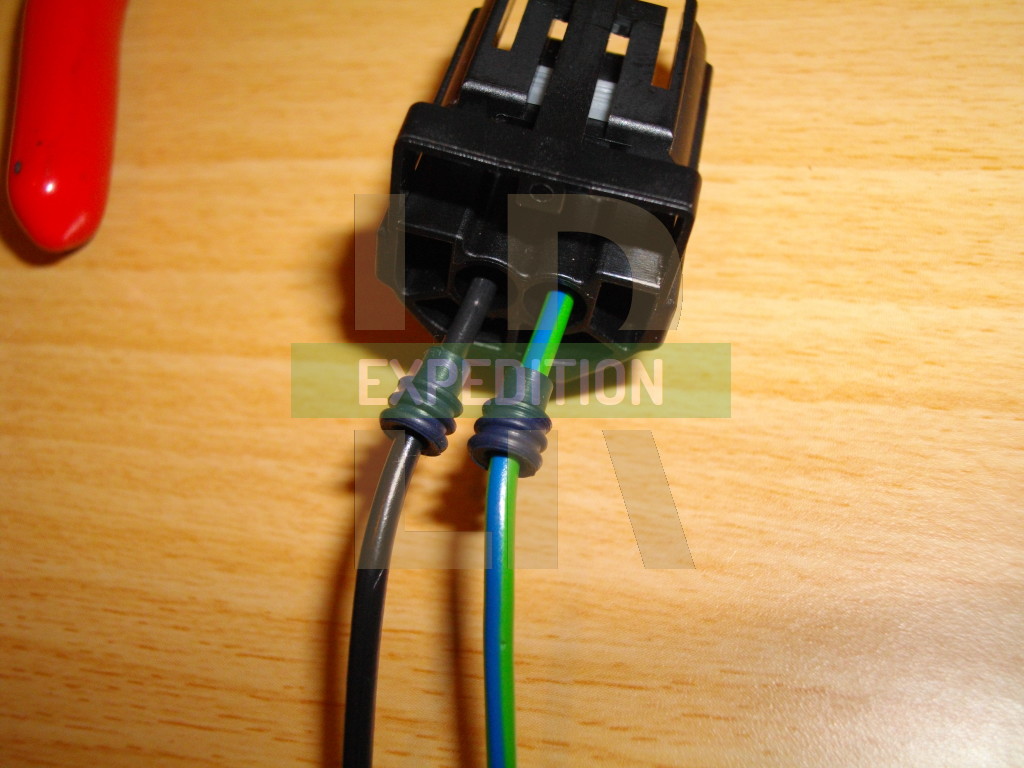
Around the inner sleeve is a rubber seal, so hopefully it'll keep the mud out. Soldering direct to the current loom would be more reliable, as my weak spot is now the bullet connectors.

7 months later
I have since removed the bullet connectors and soldered the Econoseal connector directly into the loom. This now removes the "weak link" regarding water ingress.


Clip it all together and screw the lens into the plinth. Then you just have to do the same with the other lamp.
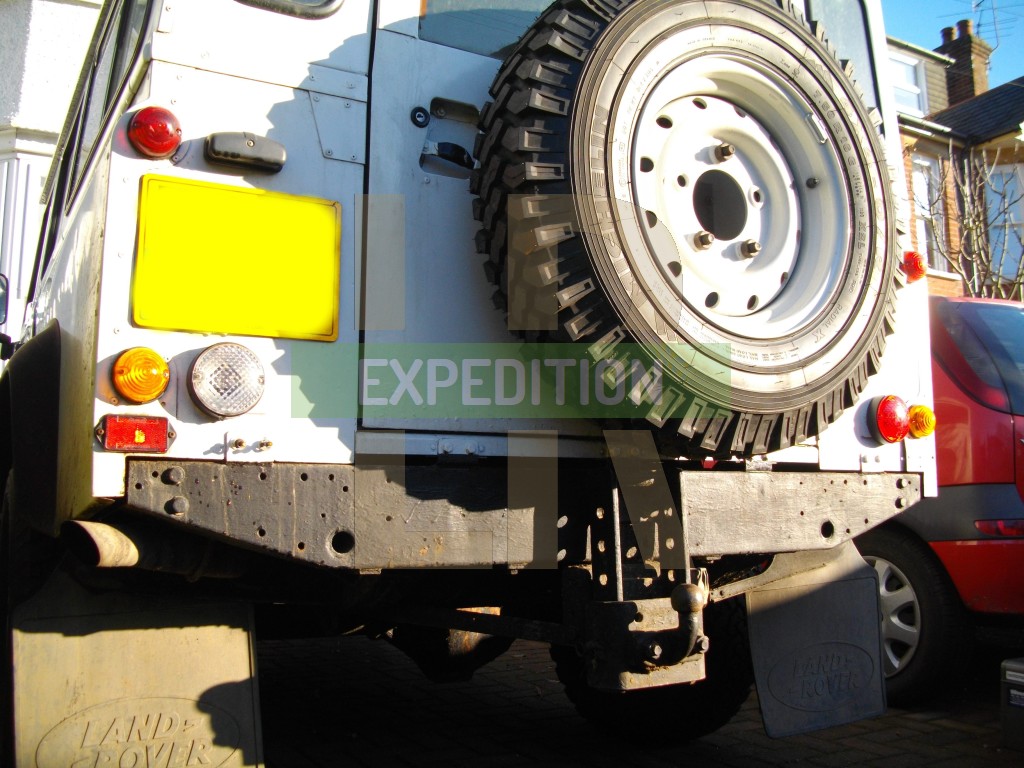
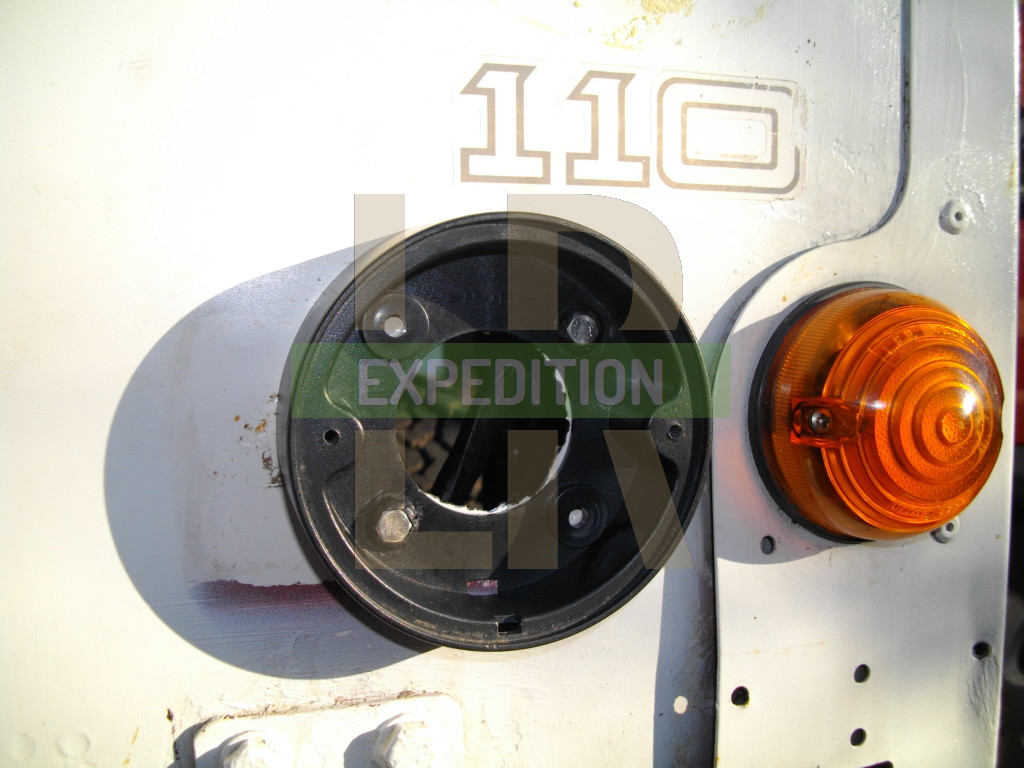
Nice and new, and a bit more reliable. At the same time I also had to replace my Reverse light switch to actually make the Reverse light work.